Lucca Lachmann

I have always loved spending time in workshops exploring how to work with different materials and processes

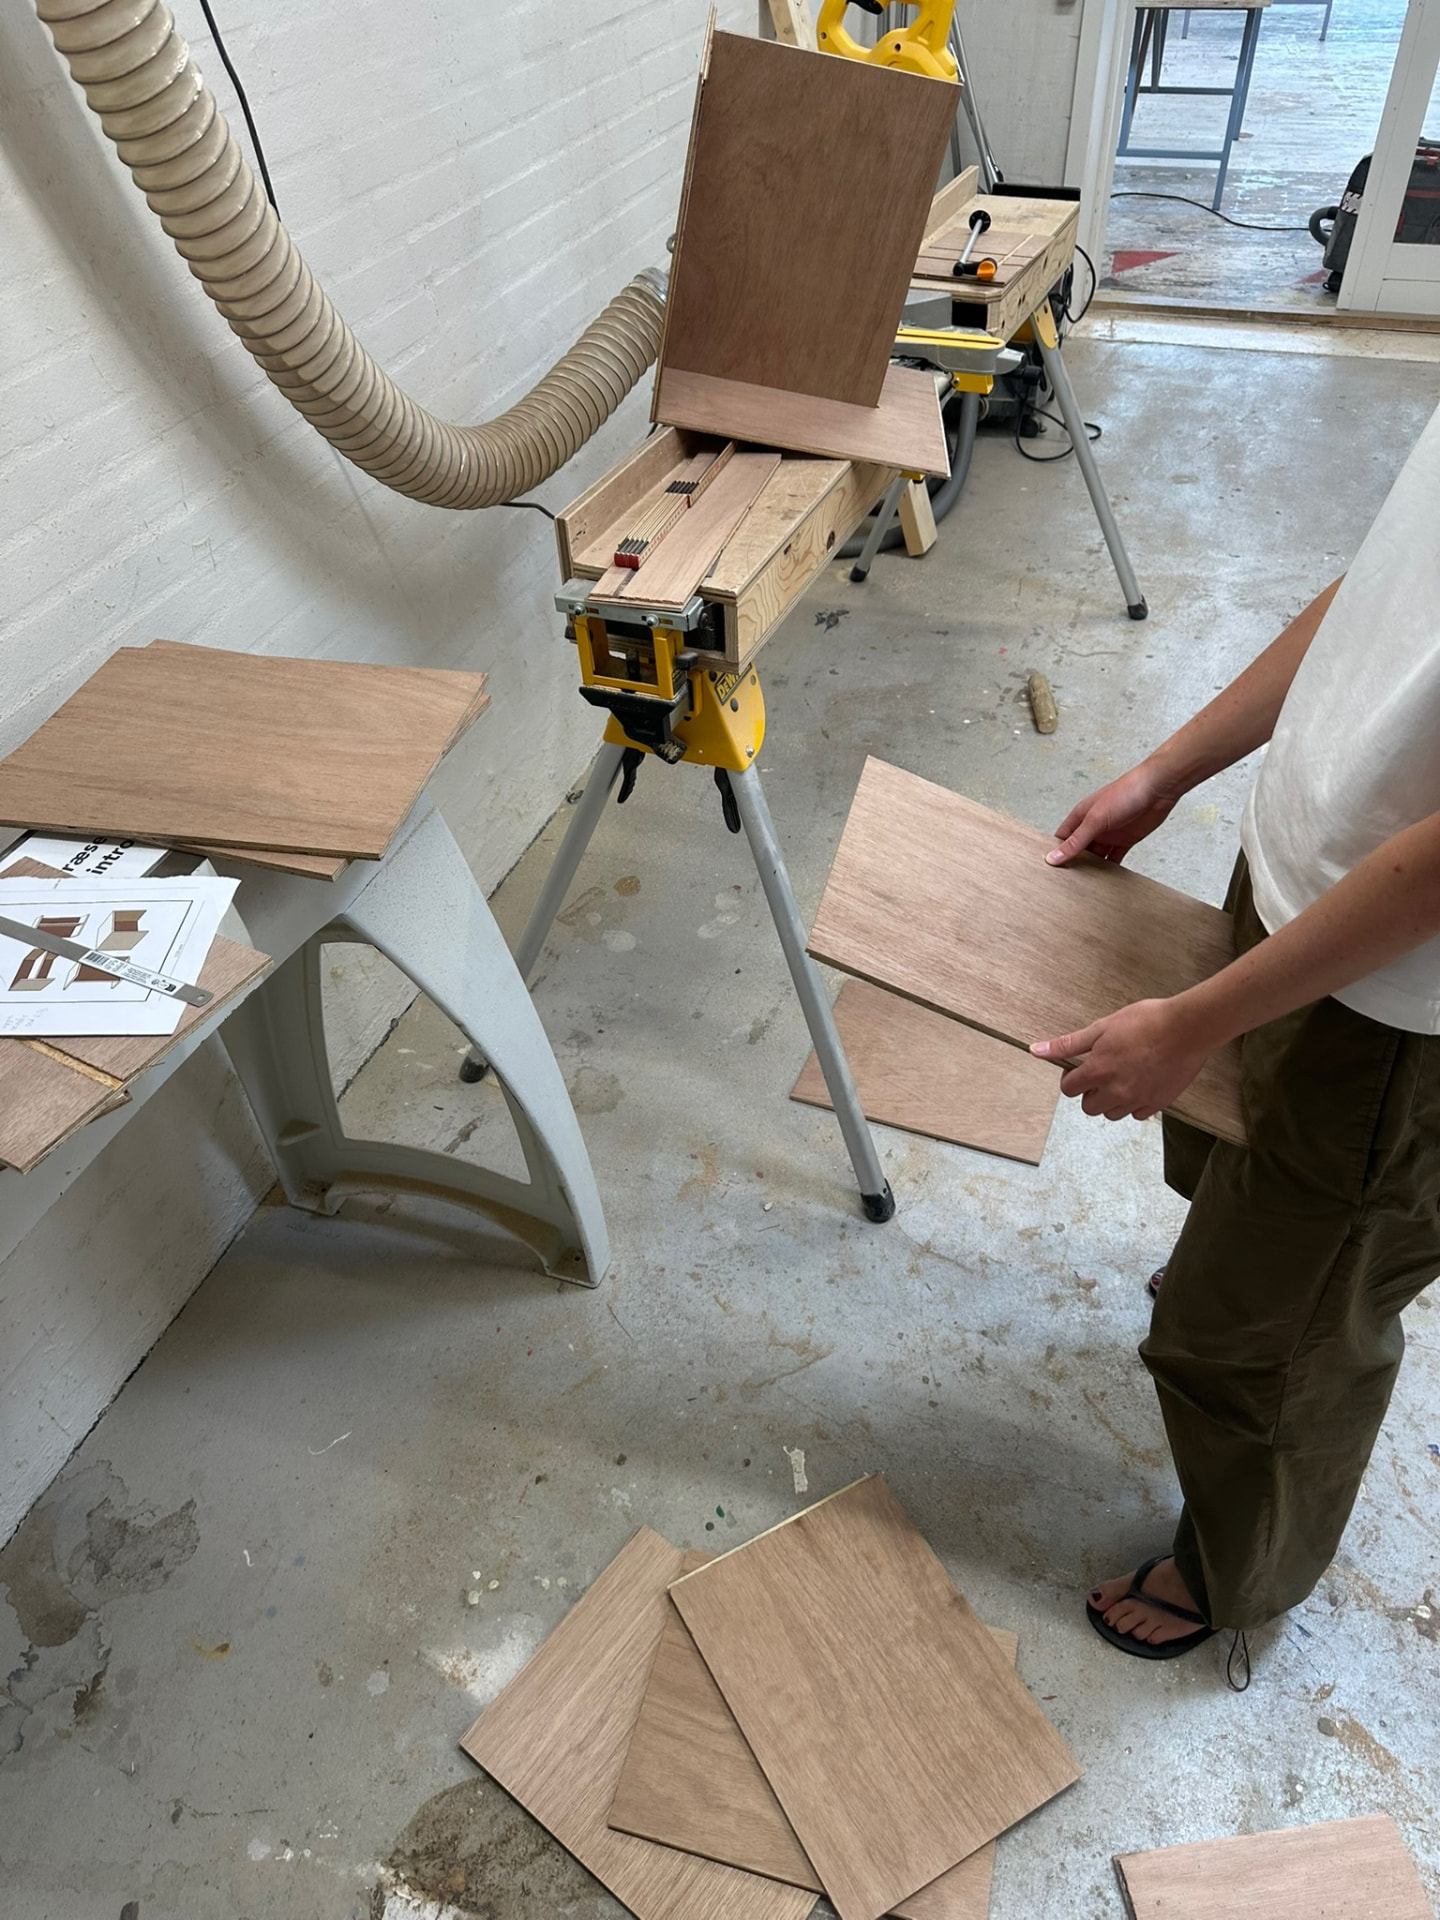
Lucca Lachmann working with plywood panels next to a yellow workshop machine at NEXT.

WORKSHOP PROCESS AT KRABBESHOLM

I am drawn to creating the right atmosphere through craftsmanship

I grew up with workshops as an ordinary part of school. At Bernadotteskolen, design, pottery, sewing, cooking, drawing and the wood workshop were a mandatory and natural part of my education.

I graduated from Ordrup Gymnasium in 2024 with a focus on mathematics and music. Both gave me a liking for structure, proportion and patience.

A semester at Krabbesholm Højskole in 2025 spawned a deeper interest in craftsmanship, materials, construction and design, and in what happens between a drawing and a finished object.

In January 2026 I began my education as a bygningssnedker at NEXT in Copenhagen, focusing on the interior joinery of a building — fitted interiors, built-in elements, windows, doors, stairs and railings. That is the part that interests me most, and I would like to develop further within fine custom interiors, where craftsmanship is also used to create the right atmosphere in a room.

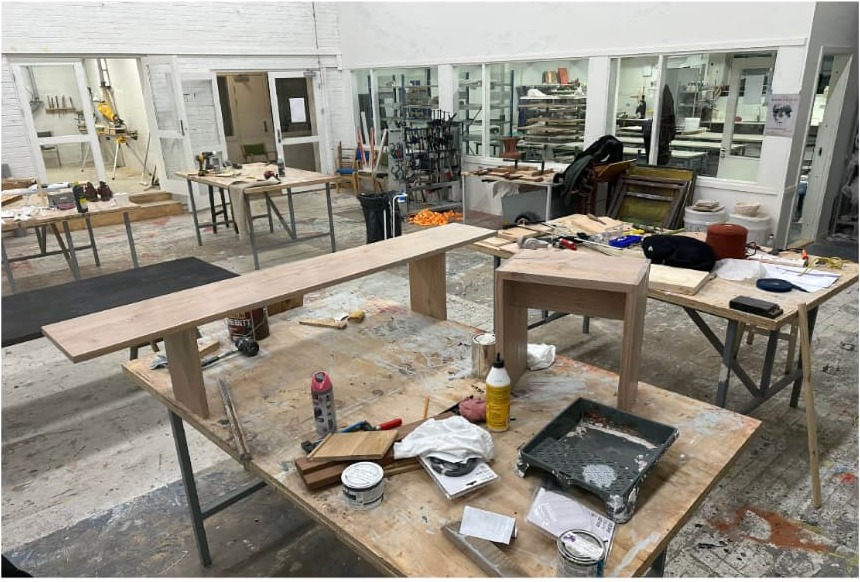
The programme alternates between school periods and time in a workshop with practical training in woodworking, materials, and the use of hand tools and machinery, and with a focus on precision, functionality, and creativity.

I am now looking for an apprenticeship at a furniture joinery, cabinetmaking workshop or design-led interior joinery. I am particularly drawn to workshops where designers and craftspeople work closely together, and where the whole process happens under one roof. I am curious to learn the complete journey — from the first sketch and material decisions to production, assembly and the finished object.

I enjoy hands-on work and environments where care, precision and attention to detail matter. I would like to learn from experienced craftspeople while contributing with curiosity, commitment and a willingness to work.
Selected Work

Two pieces made during training

Finished pine bench with a plywood top, sitting on a white table in the workshop.
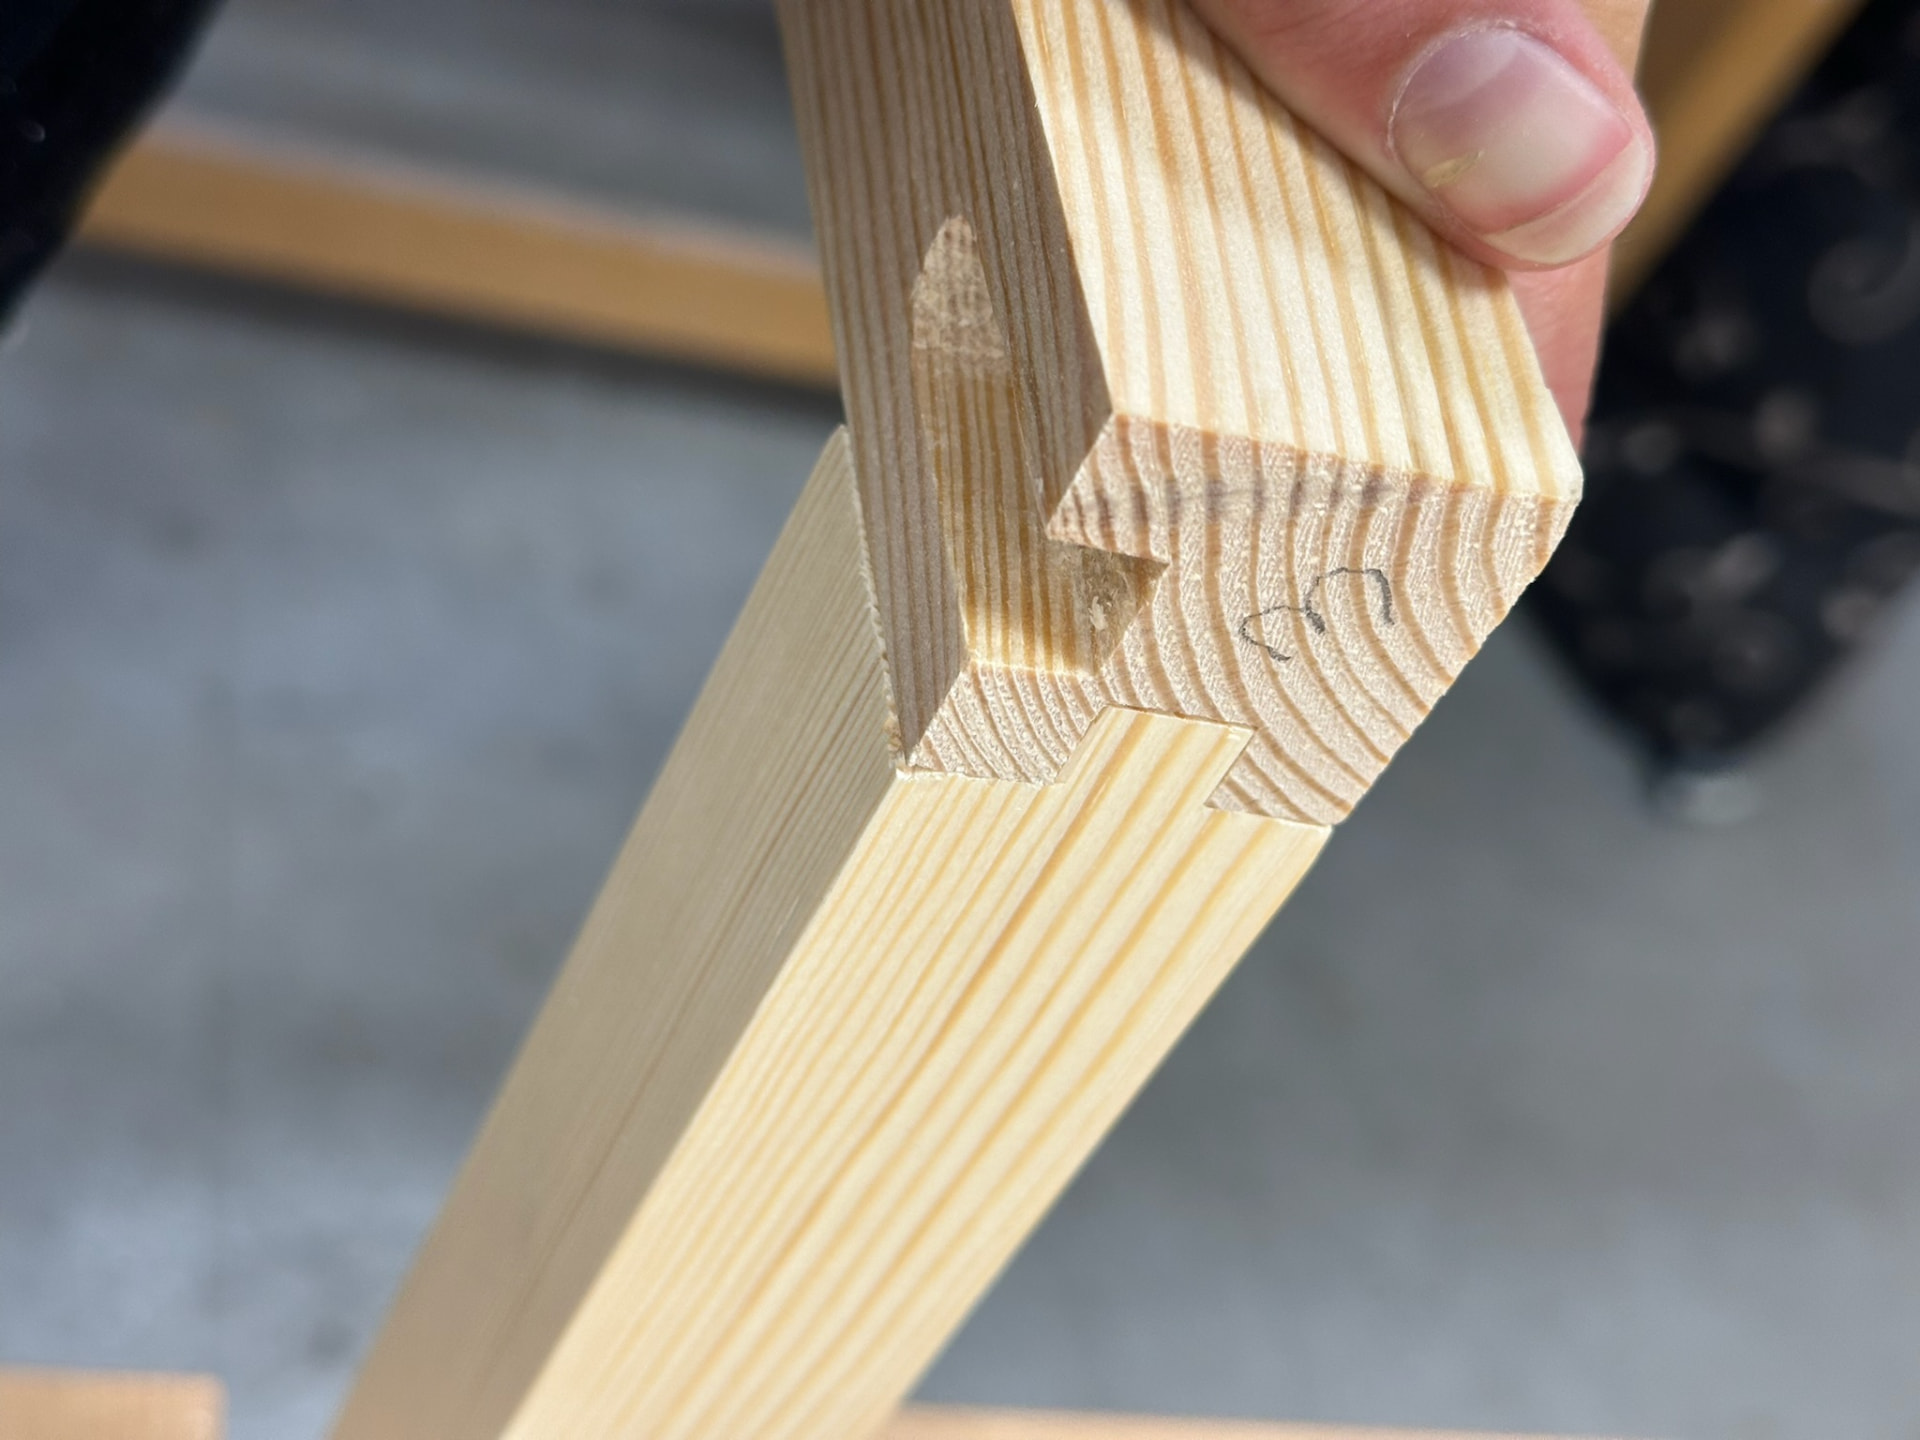
Close-up of a pine joint with peg and groove detail.Planed pine bench frame parts laid out on a rack in the workshop.

BENCH

Object
Bench
Material
Solid pine frame; pine-veneered particleboard seat with solid pine edge bands
Dimensions
700 × 400 × 450 mm
Construction
Peg, groove and domino joints; dry assembly before gluing; diagonals checked while clamping
Detail
Mitred solid-pine edge bands around the seat; seat fixed from below so the screws are hidden
Learning
Let wood acclimatise between machining steps; check diagonals repeatedly when clamping; small errors are easiest to fix before the glue is set

Made during the basic course at NEXT in spring 2026. A small bench with a solid pine frame and a veneered seat, built to practice dimensioning, joinery and control.

Working drawing of the toolbox: elevation, plan and isometric view with dovetailed corners.
Section drawing a–a at 1:1 showing the handle, the 3 mm chamfer and the 6 mm poplar plywood bottom in its rebate.Toolbox clamped from several directions on the bench while the dovetailed corners are glued.

TOOLBOX

Object
Toolbox with hand-cut dovetails
Material
Solid pine, edge-glued panels; 6 mm poplar plywood bottom
Dimensions
634 × 340 × 180 mm
Drawing
Elevation, plan and isometric at 1:5; section a–a at 1:1 with dovetail slope 1:6
Construction
Corners in hand-cut dovetails, marked with marking gauge, dividers, bevel and square; sawn to the line and pared out with a chisel; bottom fitted into a rebate
Detail
Handles cut into the end pieces, 80 mm long with R13 ends and a 3 mm chamfer inside and out
Process
Pine planed, thicknessed and cut on the bandsaw; boards edge-glued with alternating growth rings for stability; joints dry-fitted and clamps prepared before any glue was applied; box clamped from several directions so the joints closed tight
Learning
Work calmly and test-fit the joint several times before taking more wood off; plan the glue-up before the glue goes on; the first measurements decide the result

Module 1 of the basic course at NEXT, spring 2026. The drawing was used as a control throughout the making, and the cut list set out quantities, materials, finished sizes and rough sizes — the rough size larger to leave material for planing and fitting.

Process & Sketches

Work in progress, drawings, models, tests and adjustments.

Planed pine components leaning against a Martin T45 machine in the workshop.
Planed pine parts, ready for marking out
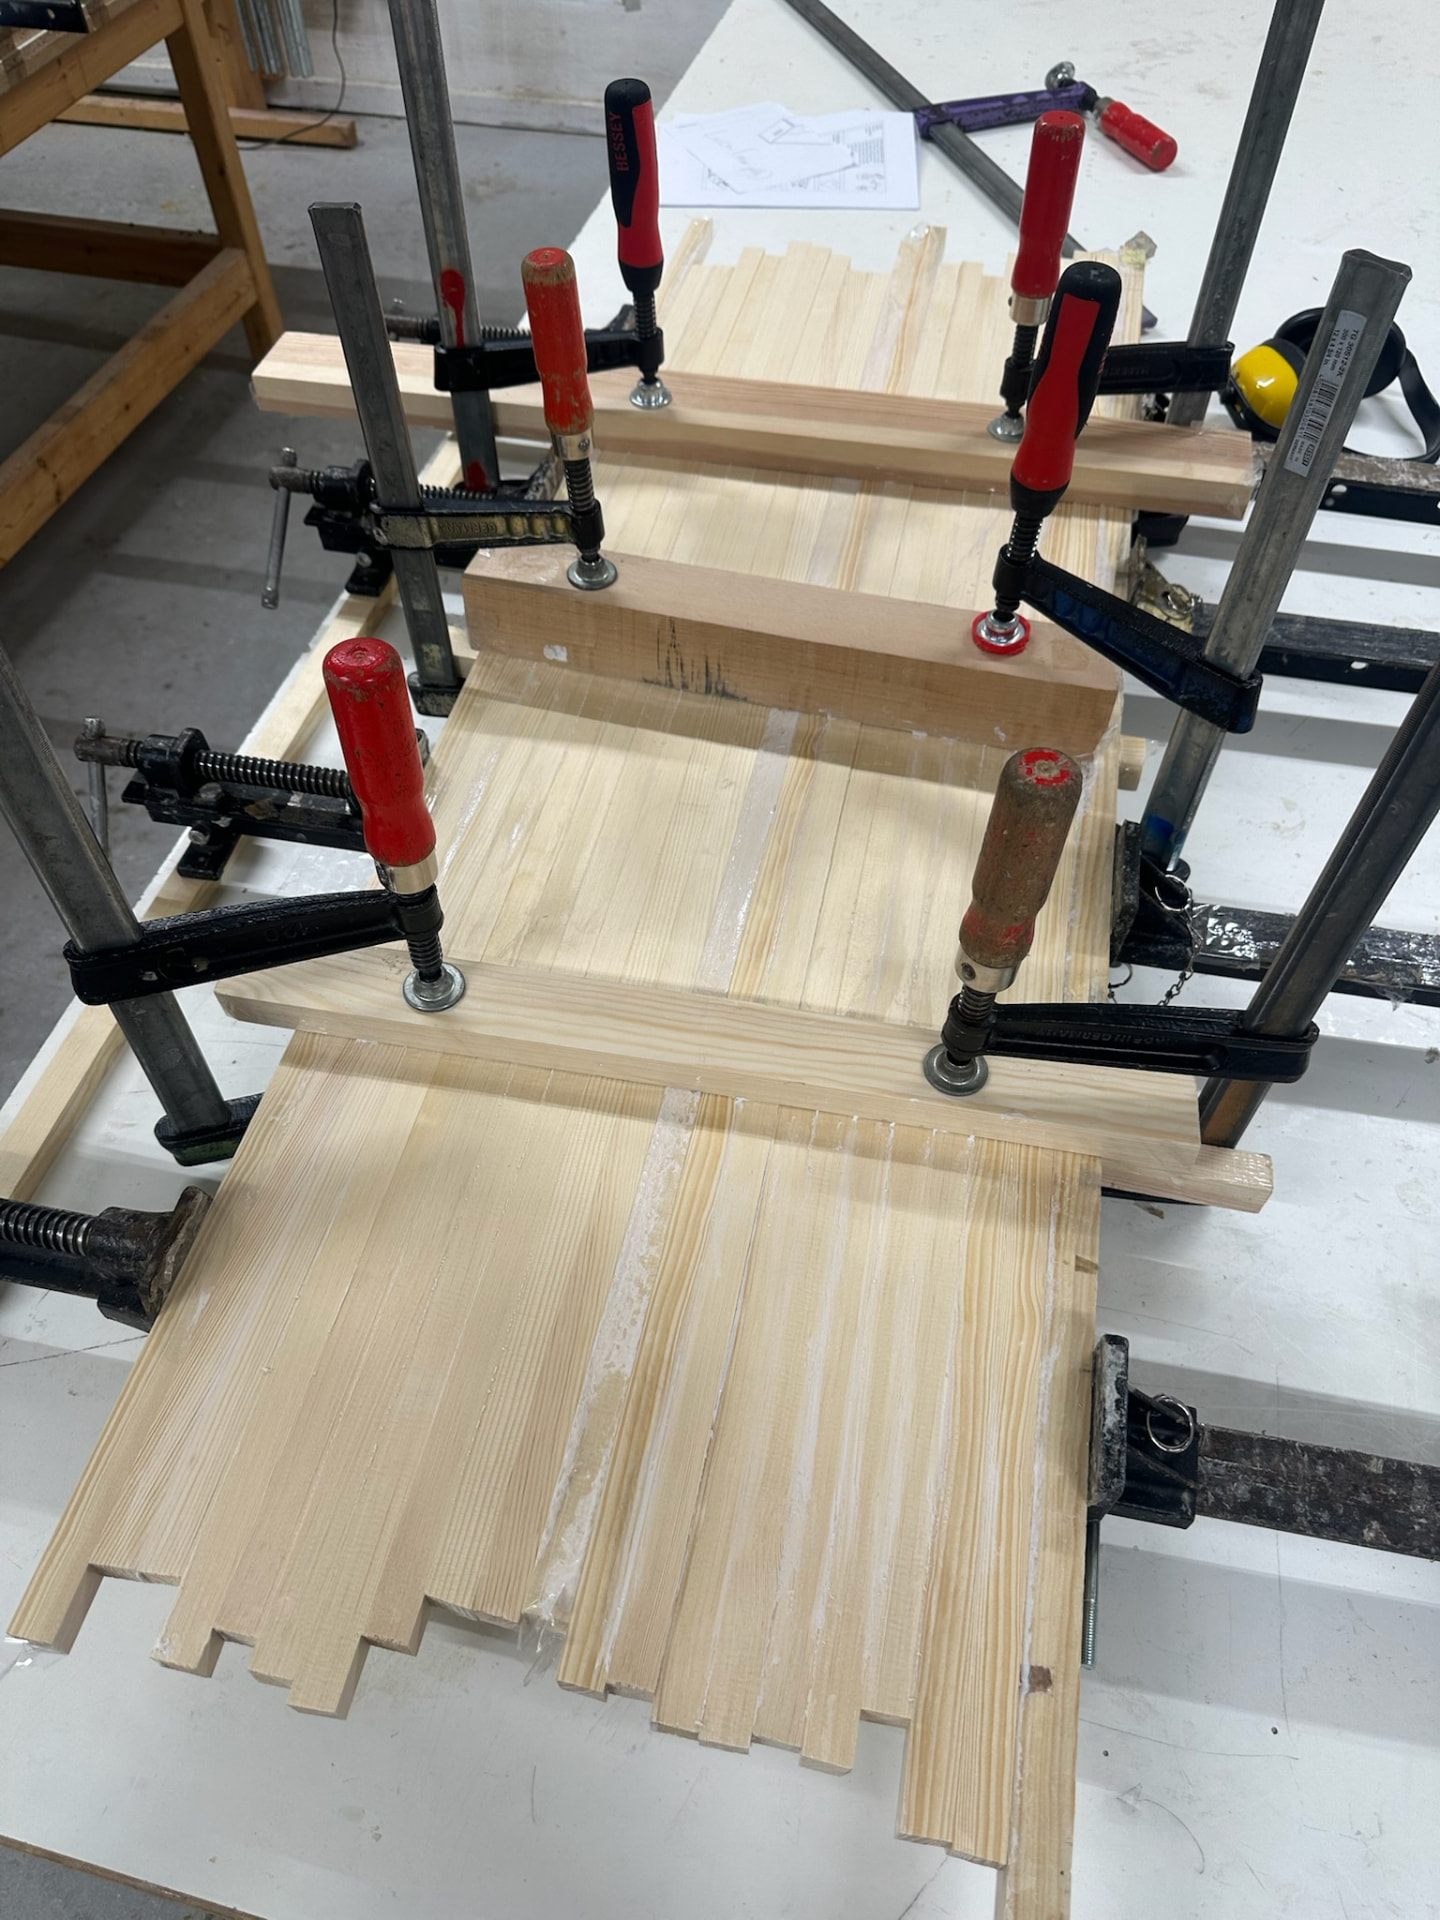
Pine panels glued and held in clamps on a bench.
Glue-up of the seat panels
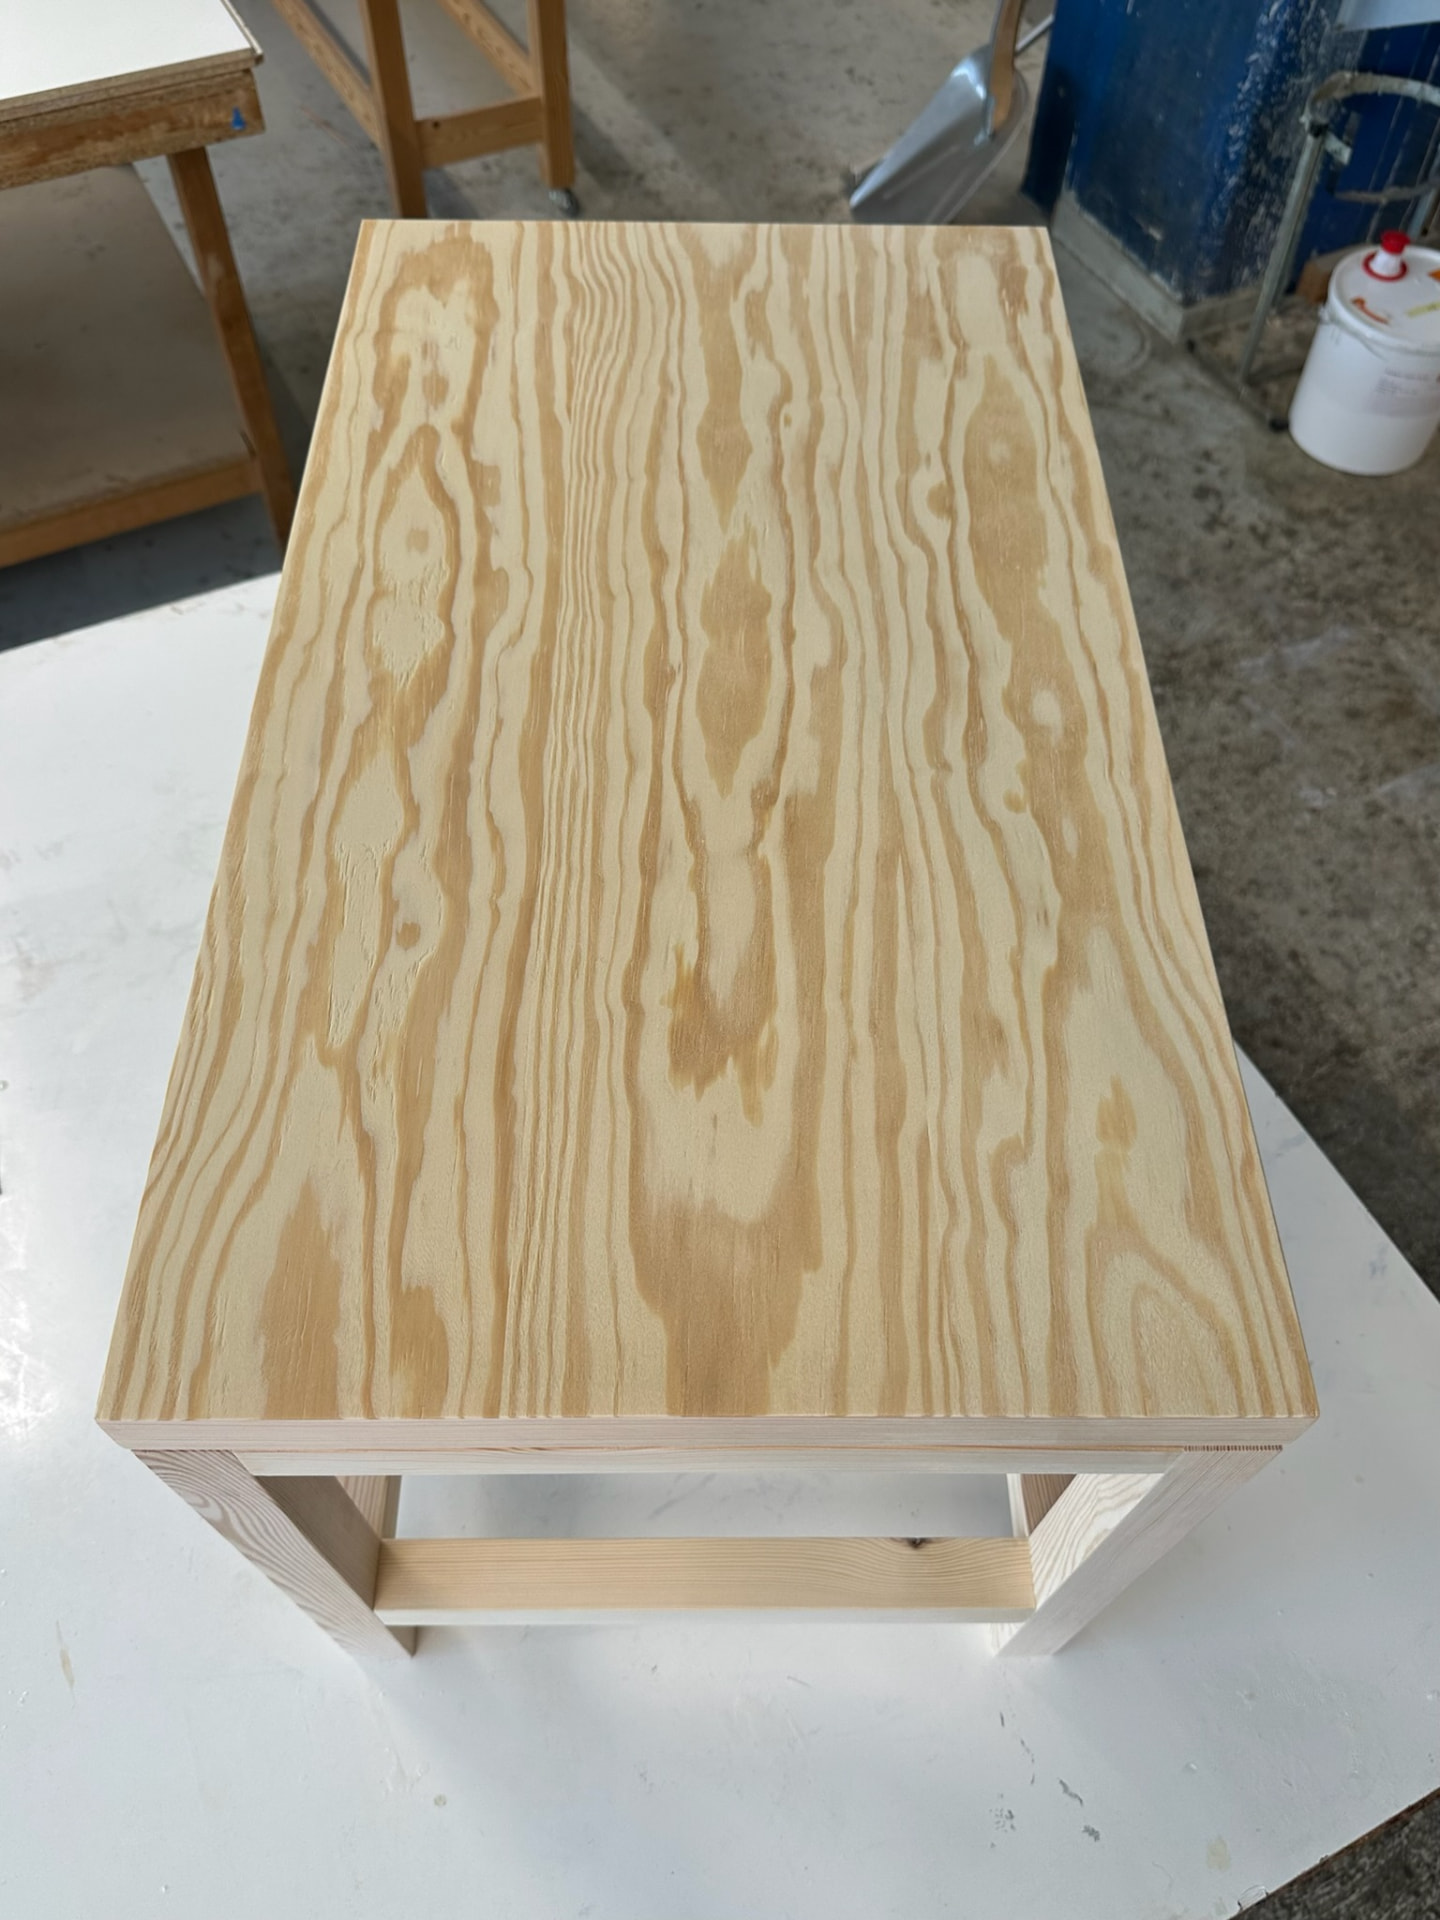
Assembled pine stool seen from above, showing the grain of the seat.
Stool assembled, before finishing
A pine panel clamped at a mitred corner on the workbench.
Clamping a mitred corner
Close-up of a hand-cut joint in pine, held up to the light.
Joint detail, dry-fitted
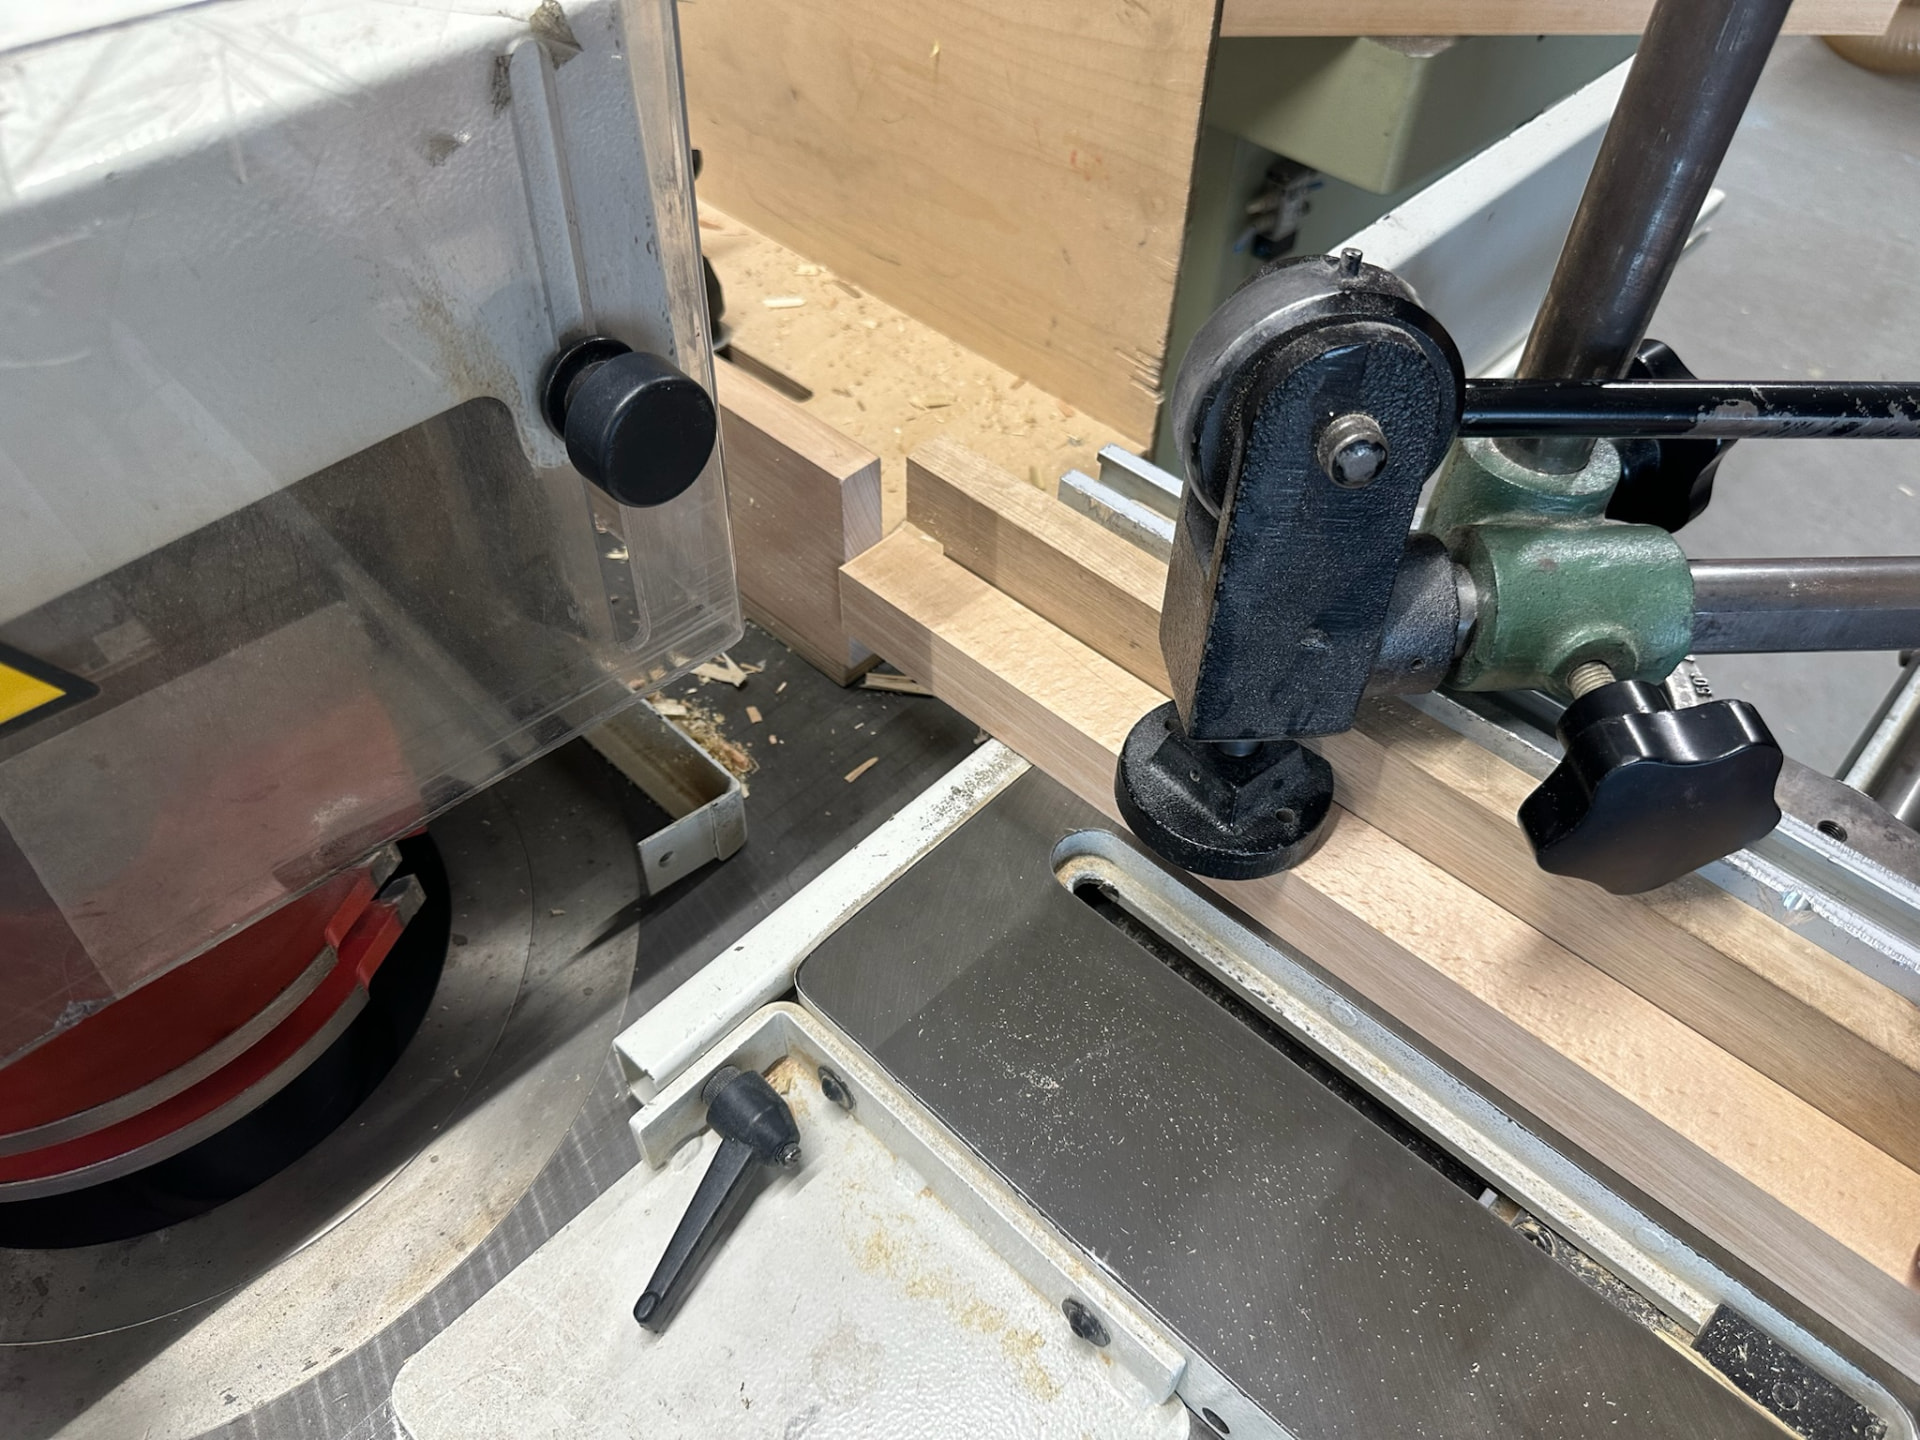
Set-up on the panel saw with a stop and clamp fixed to the fence.
Machine set-up on the saw
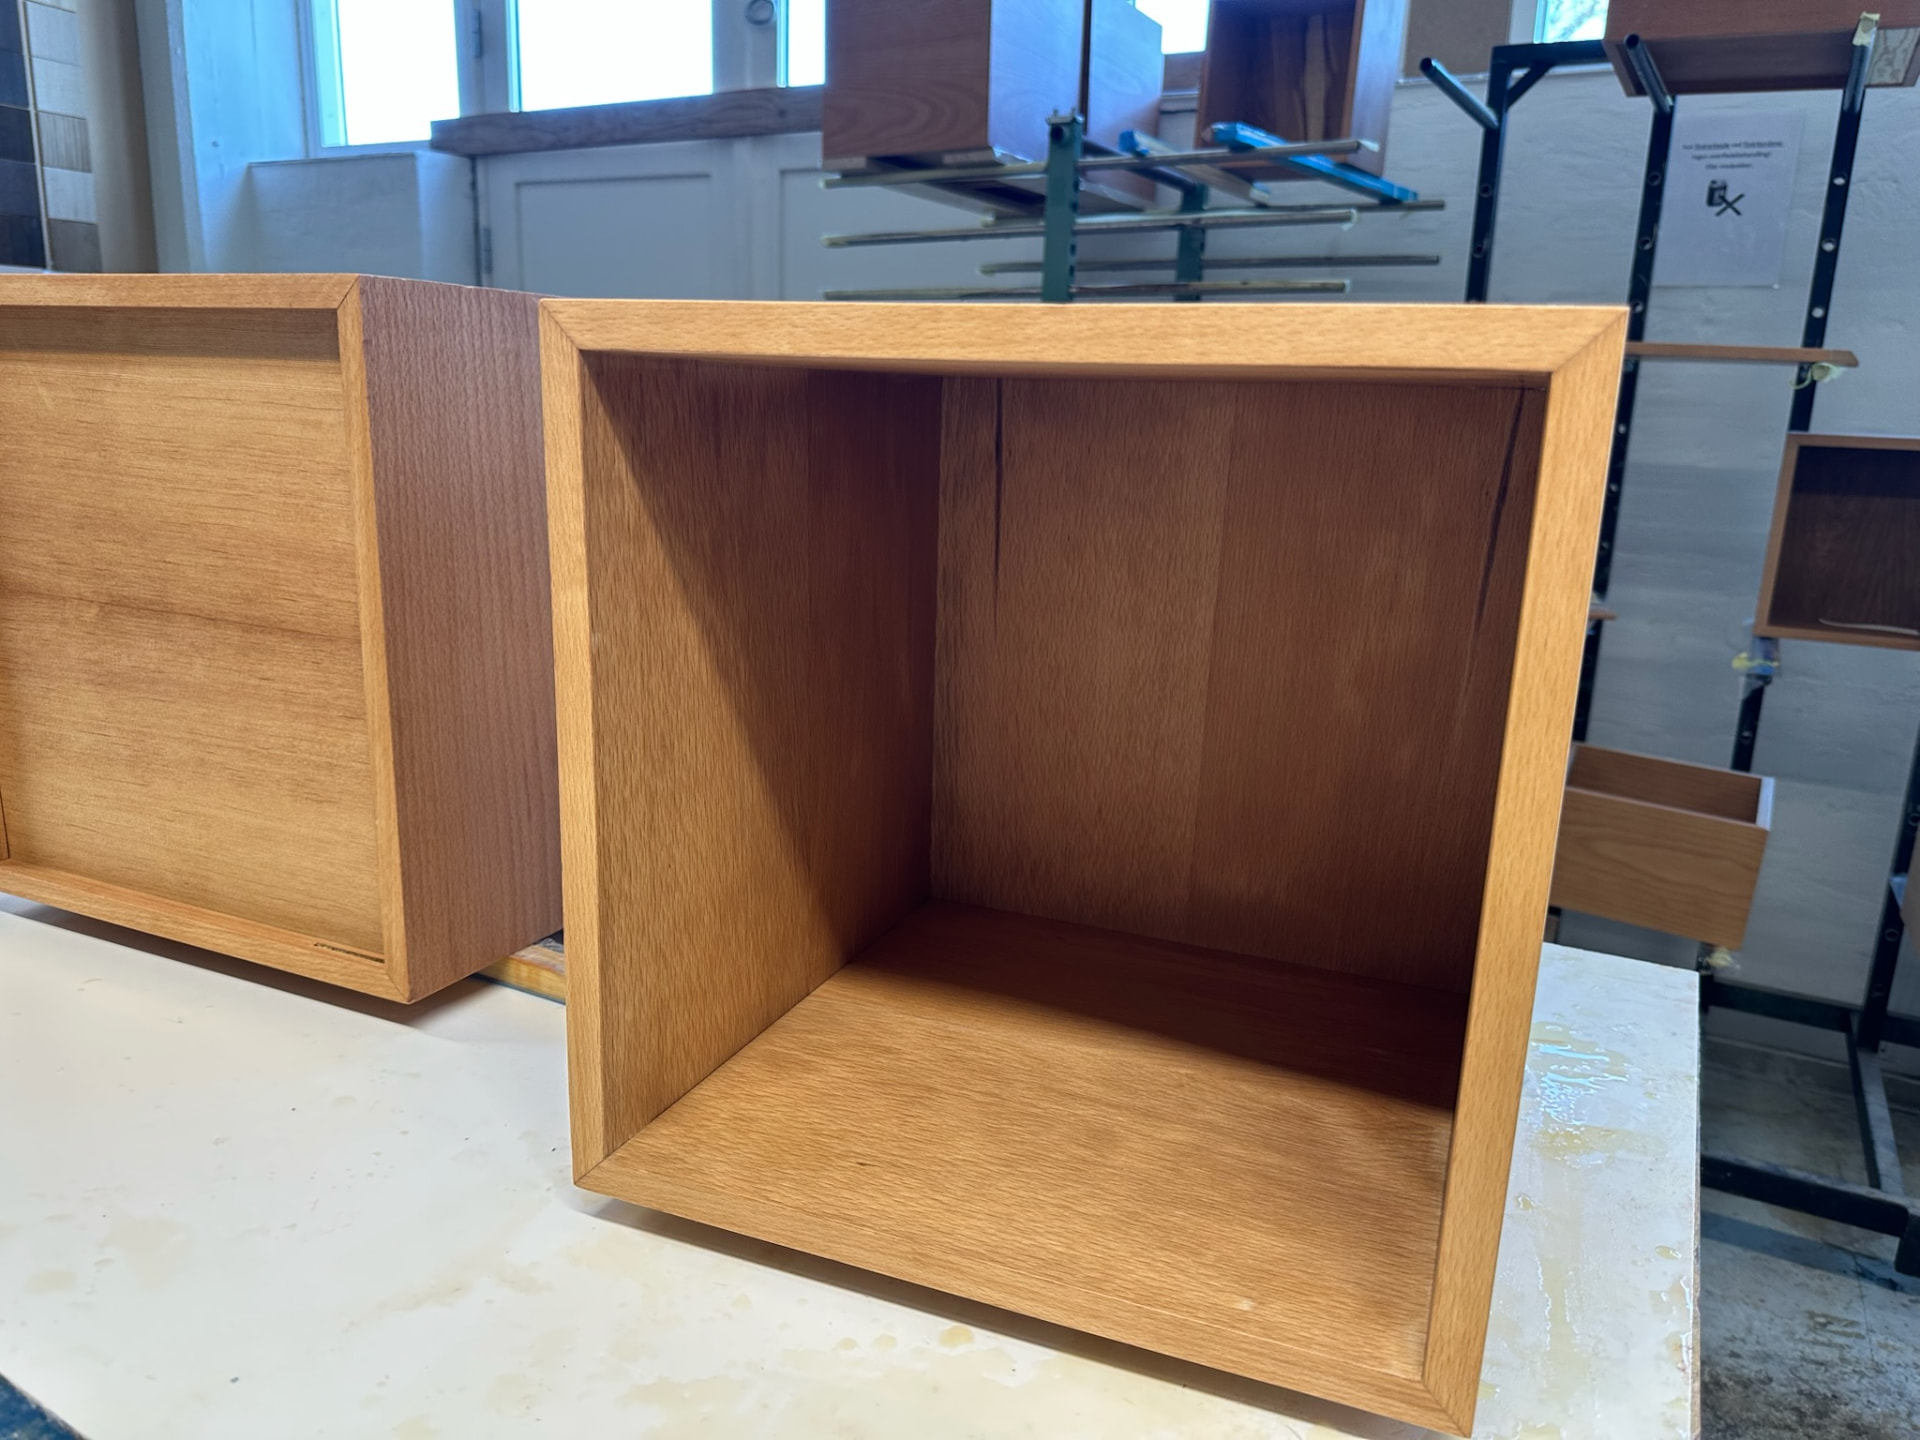
Two oak carcasses standing on the bench after glue-up.
Oak carcass, glued and cleaned up
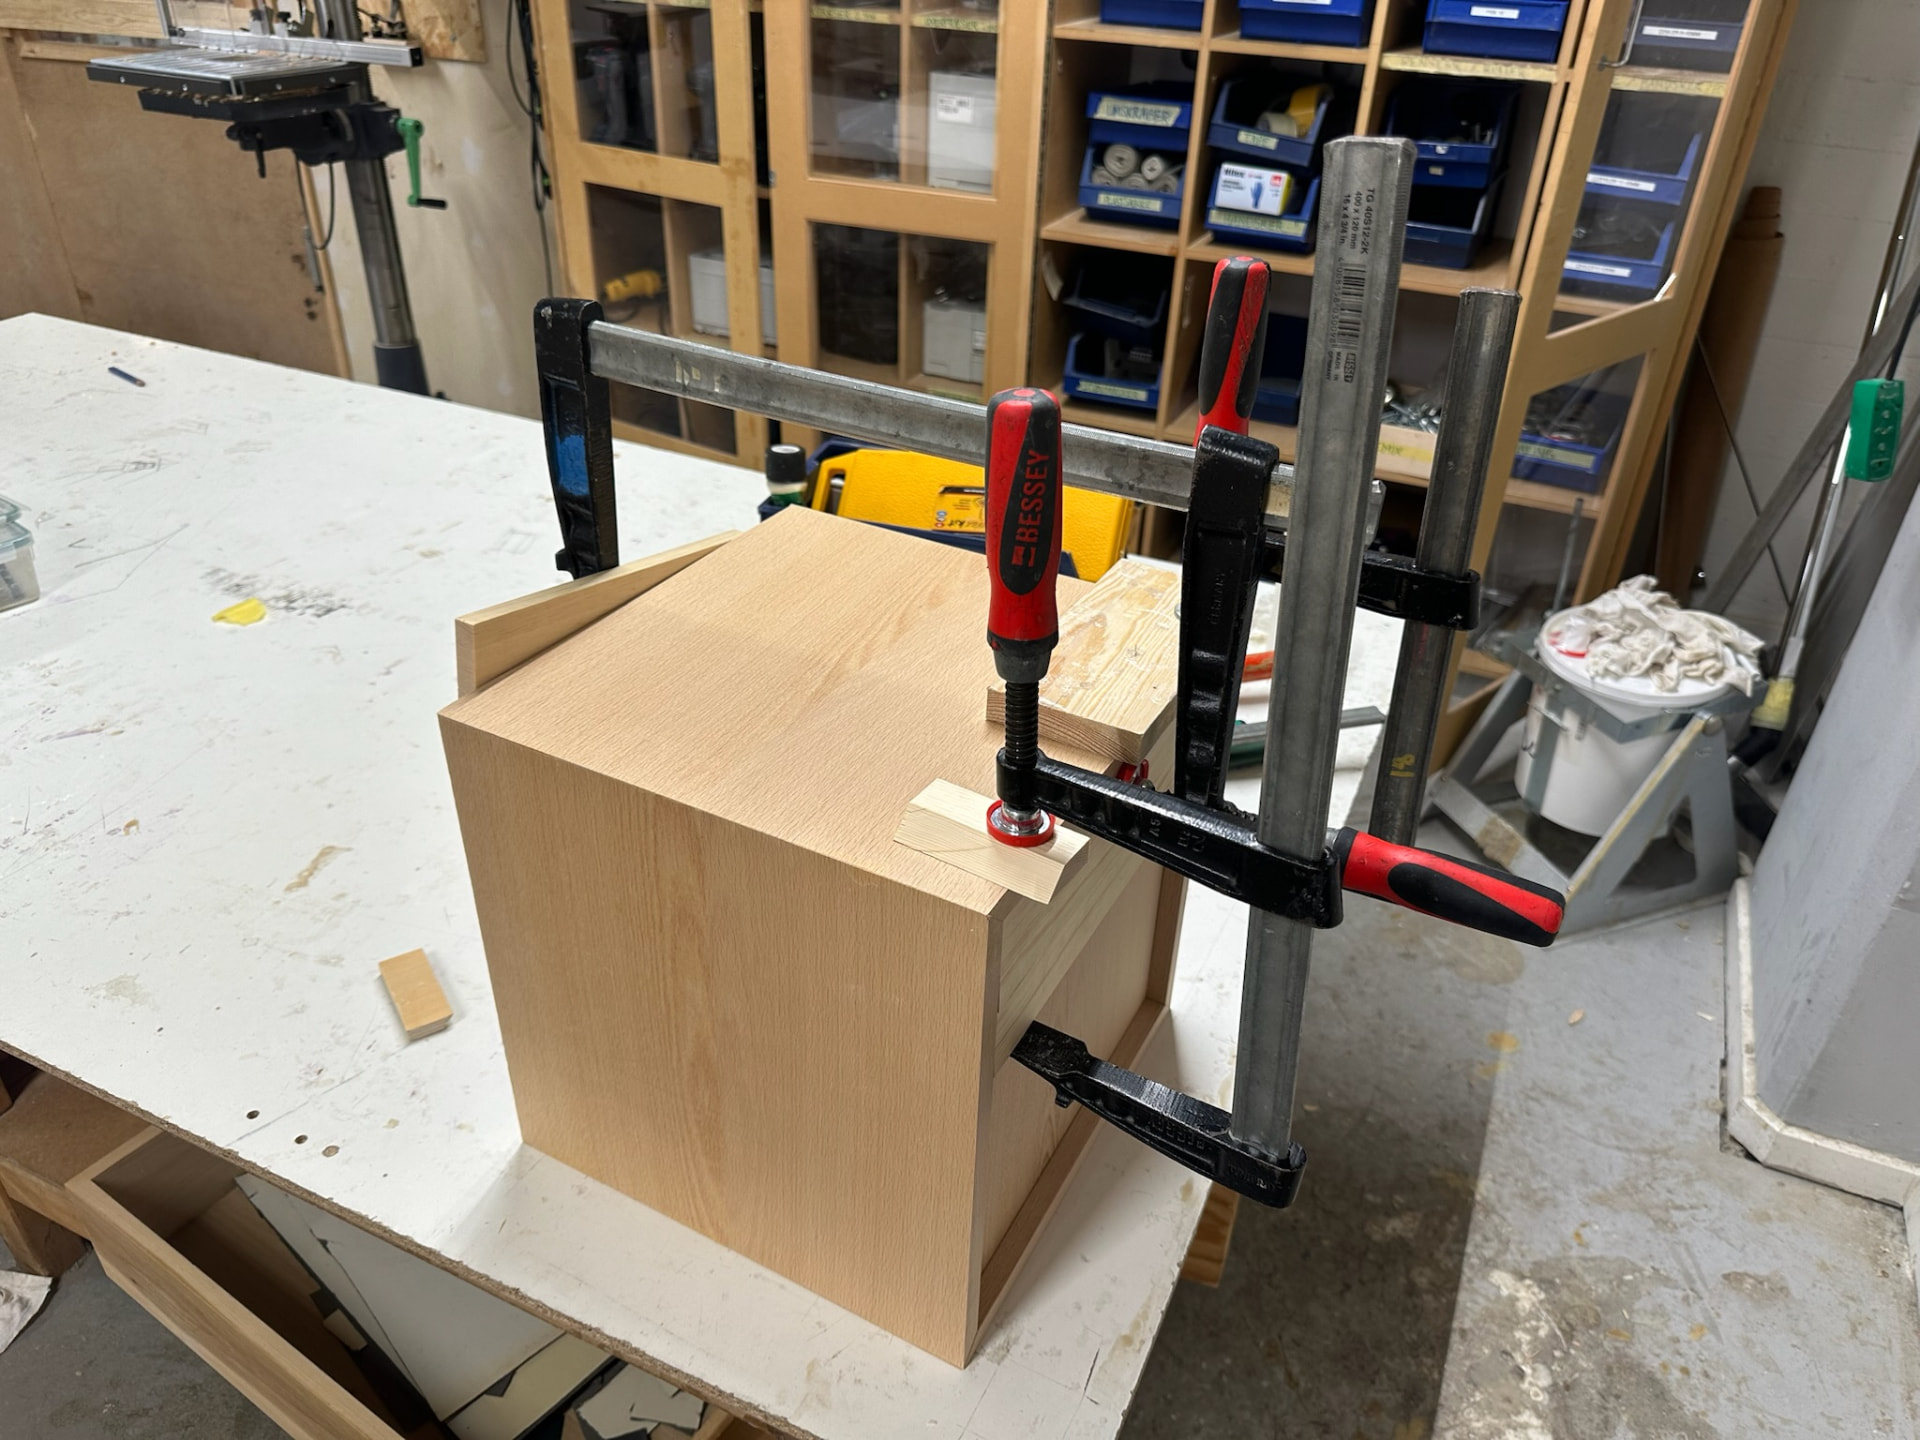
Beech carcass held in bar clamps on the bench during glue-up.
Carcass in clamps
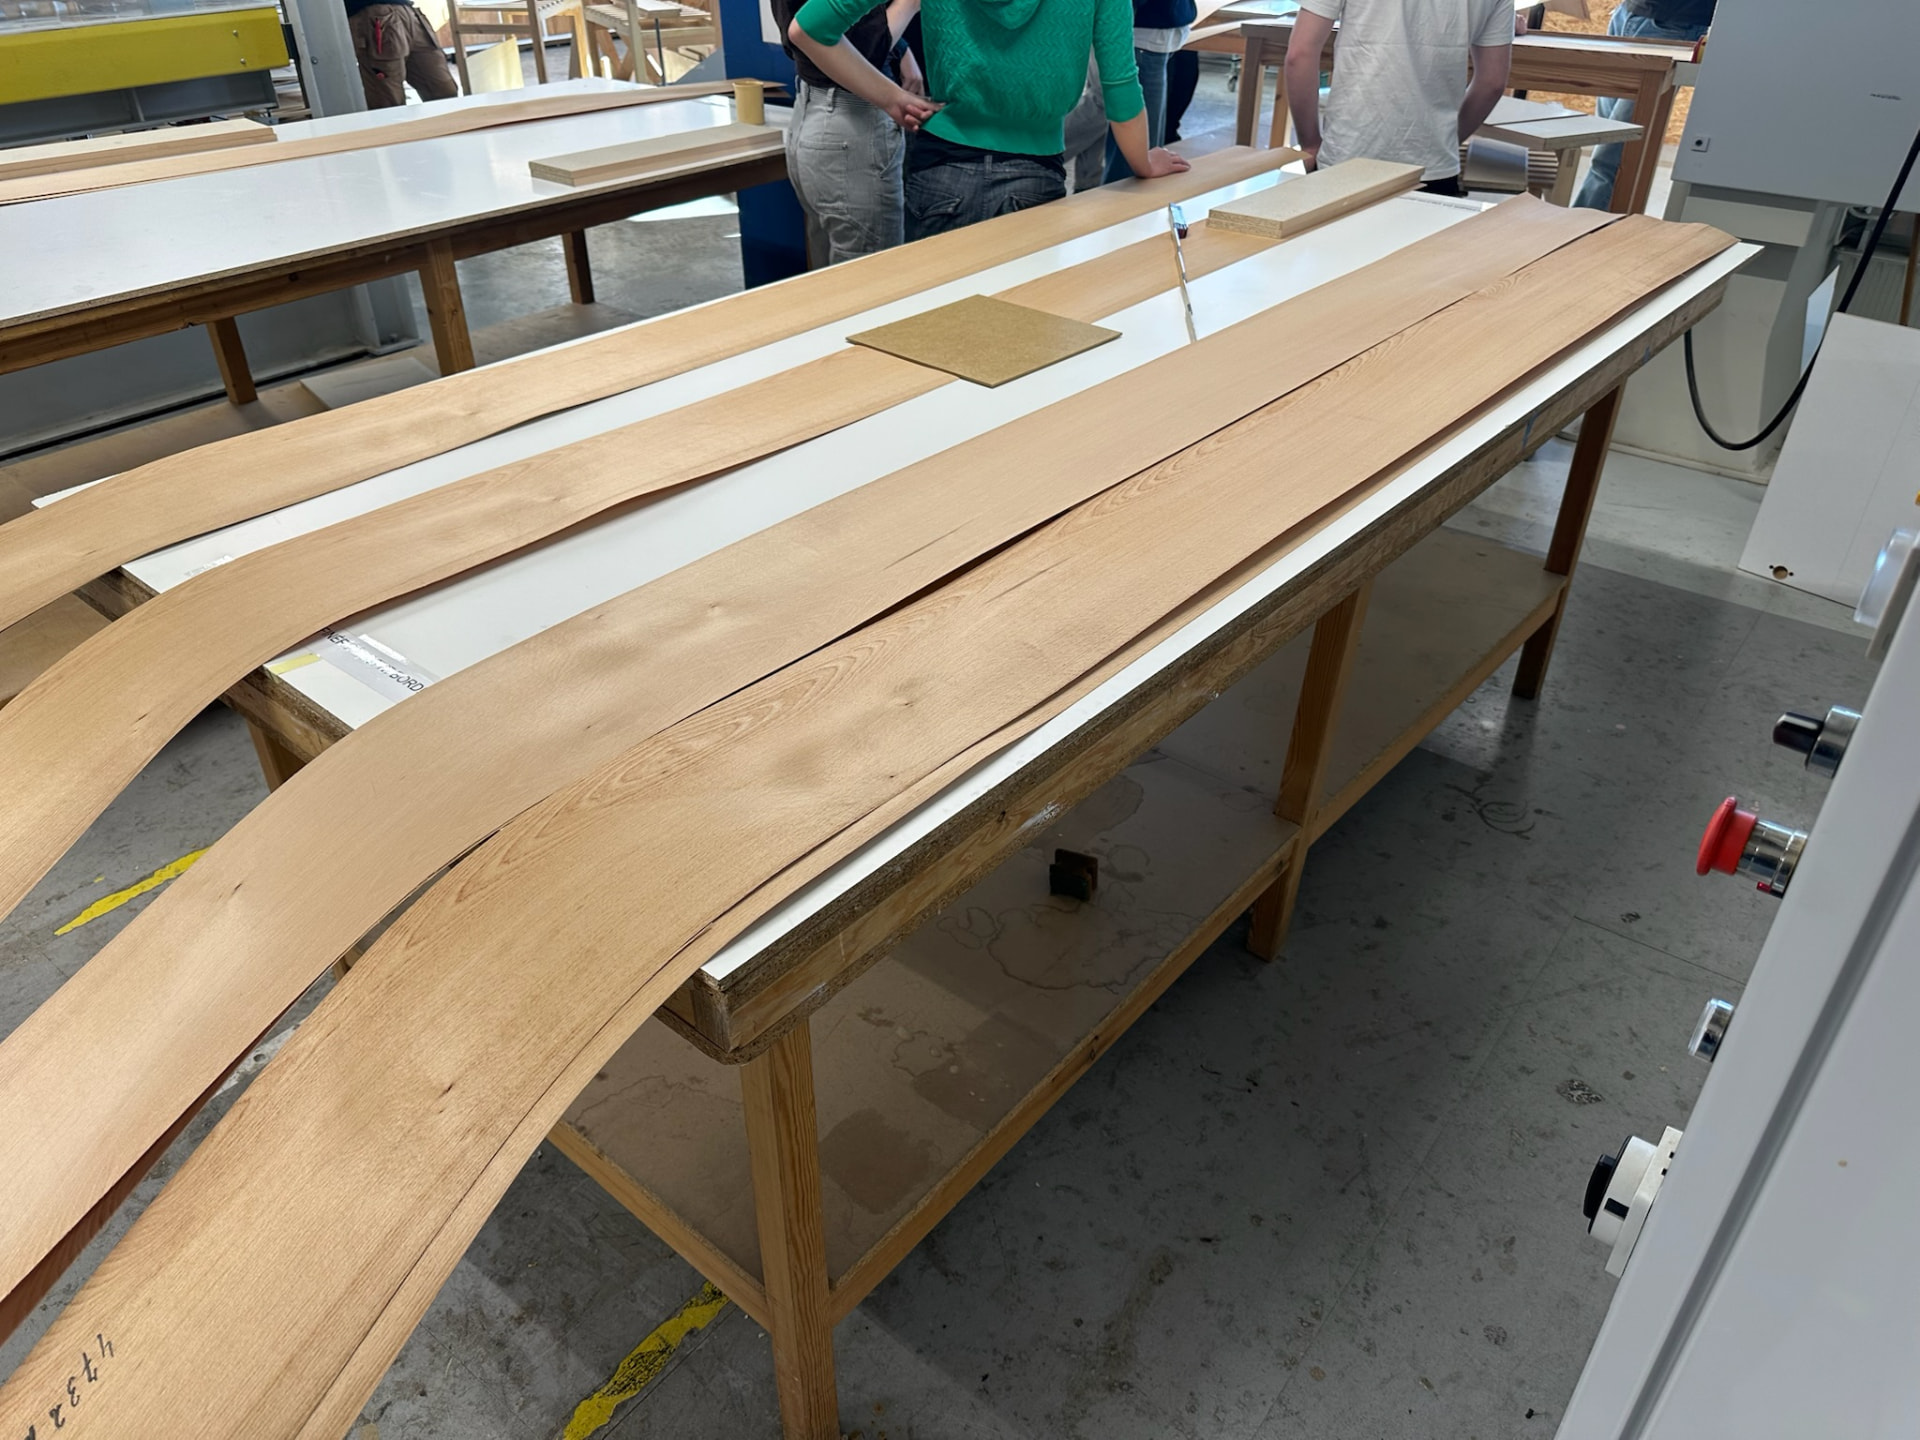
Long sheets of veneer laid out across the workshop benches.
Veneer laid out for selection
Chipboard caul and battens being prepared for pressing veneer.
Preparing the press
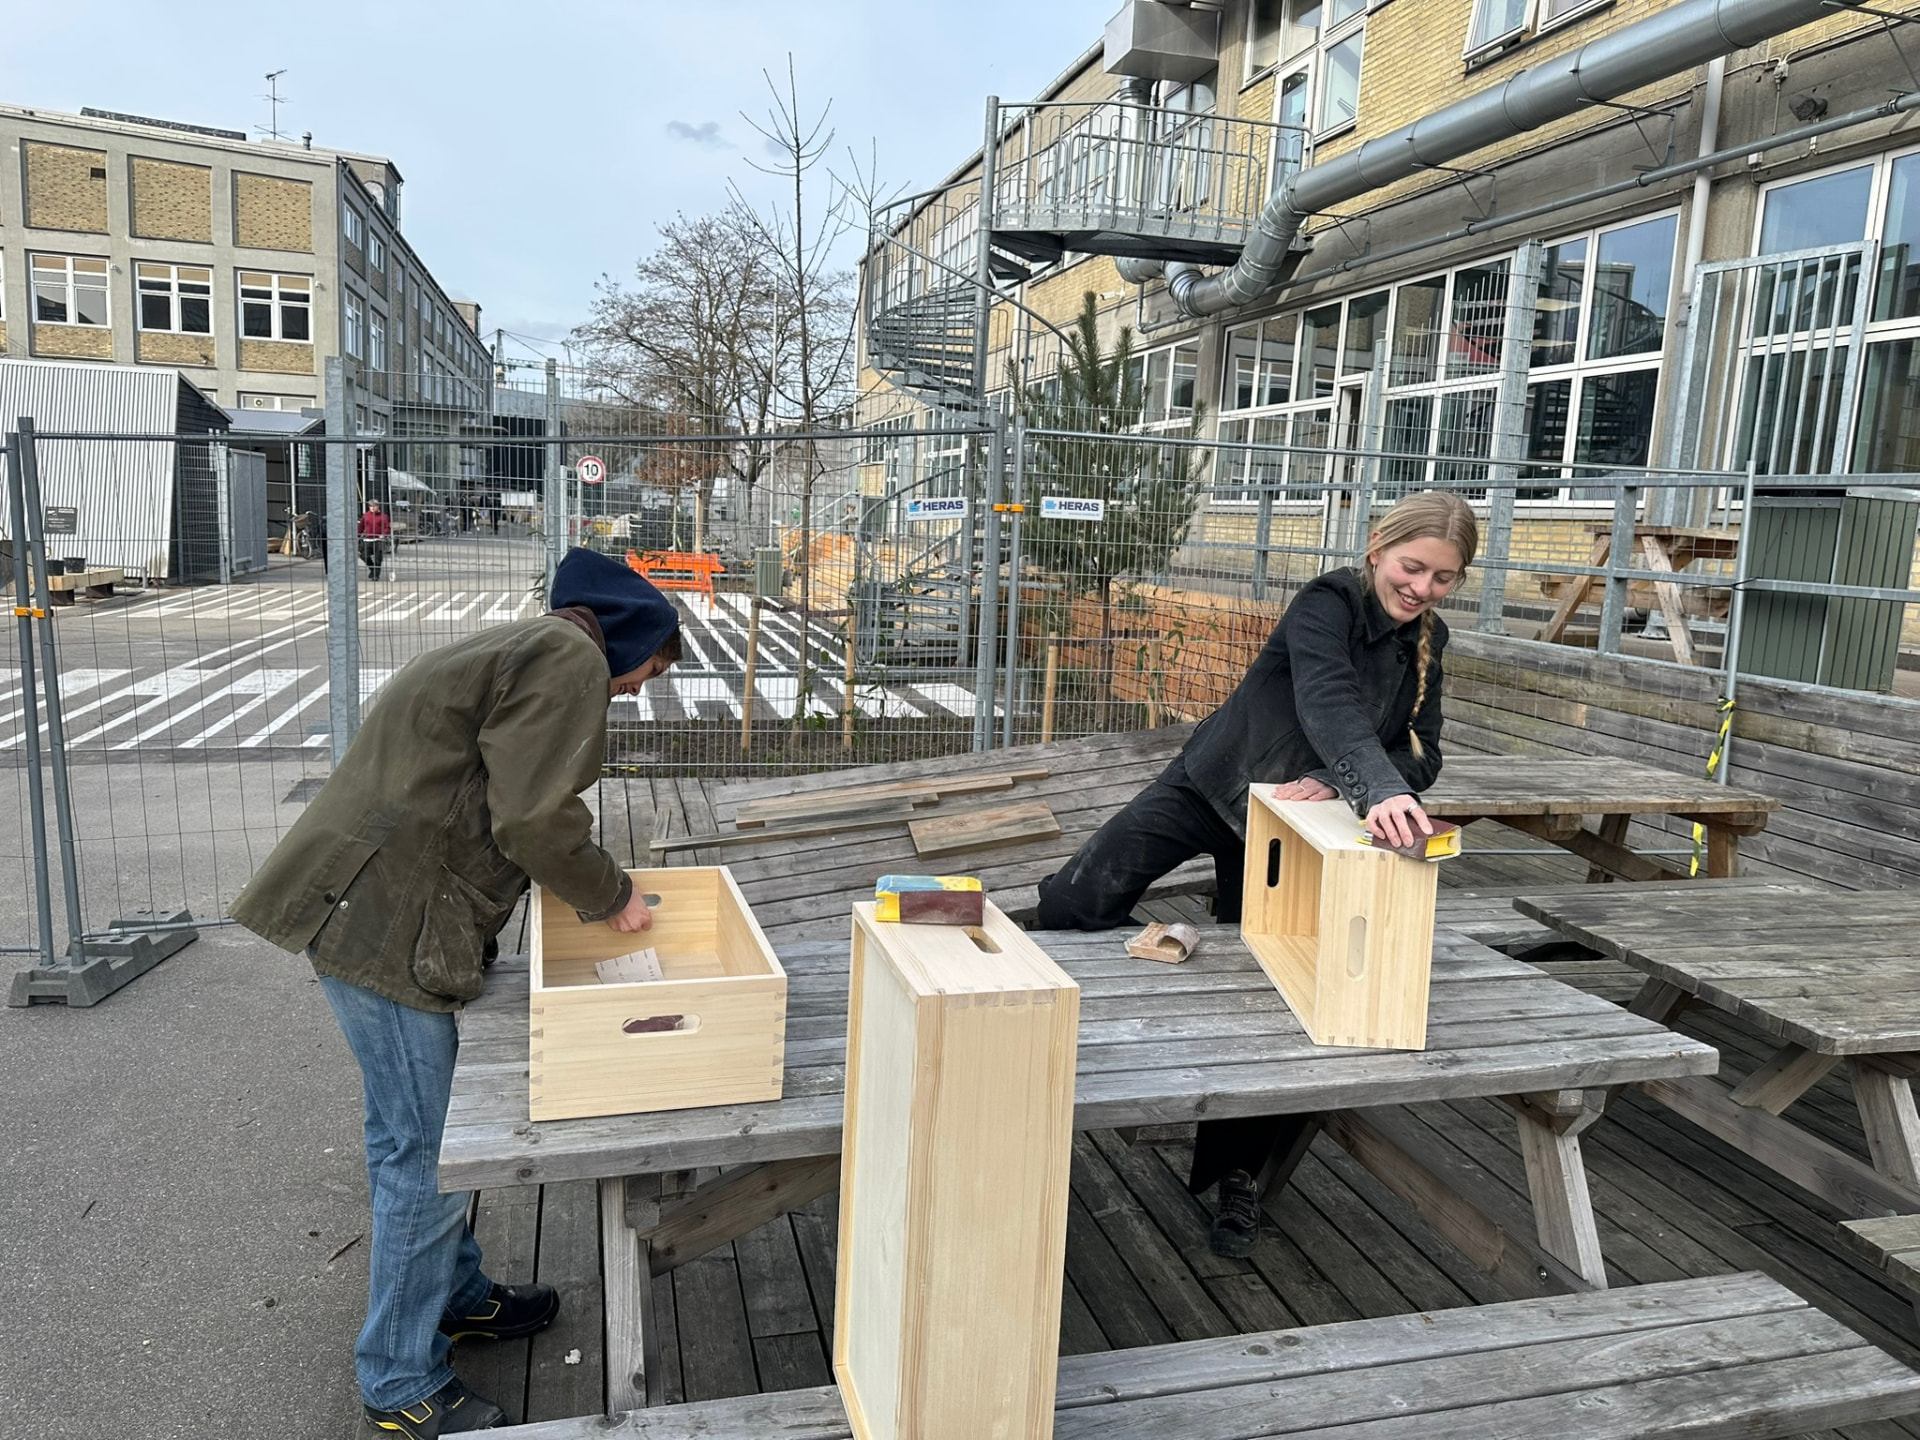
Two students sanding pine boxes on a picnic table in the yard outside the workshop.
Sanding the boxes outside the workshop
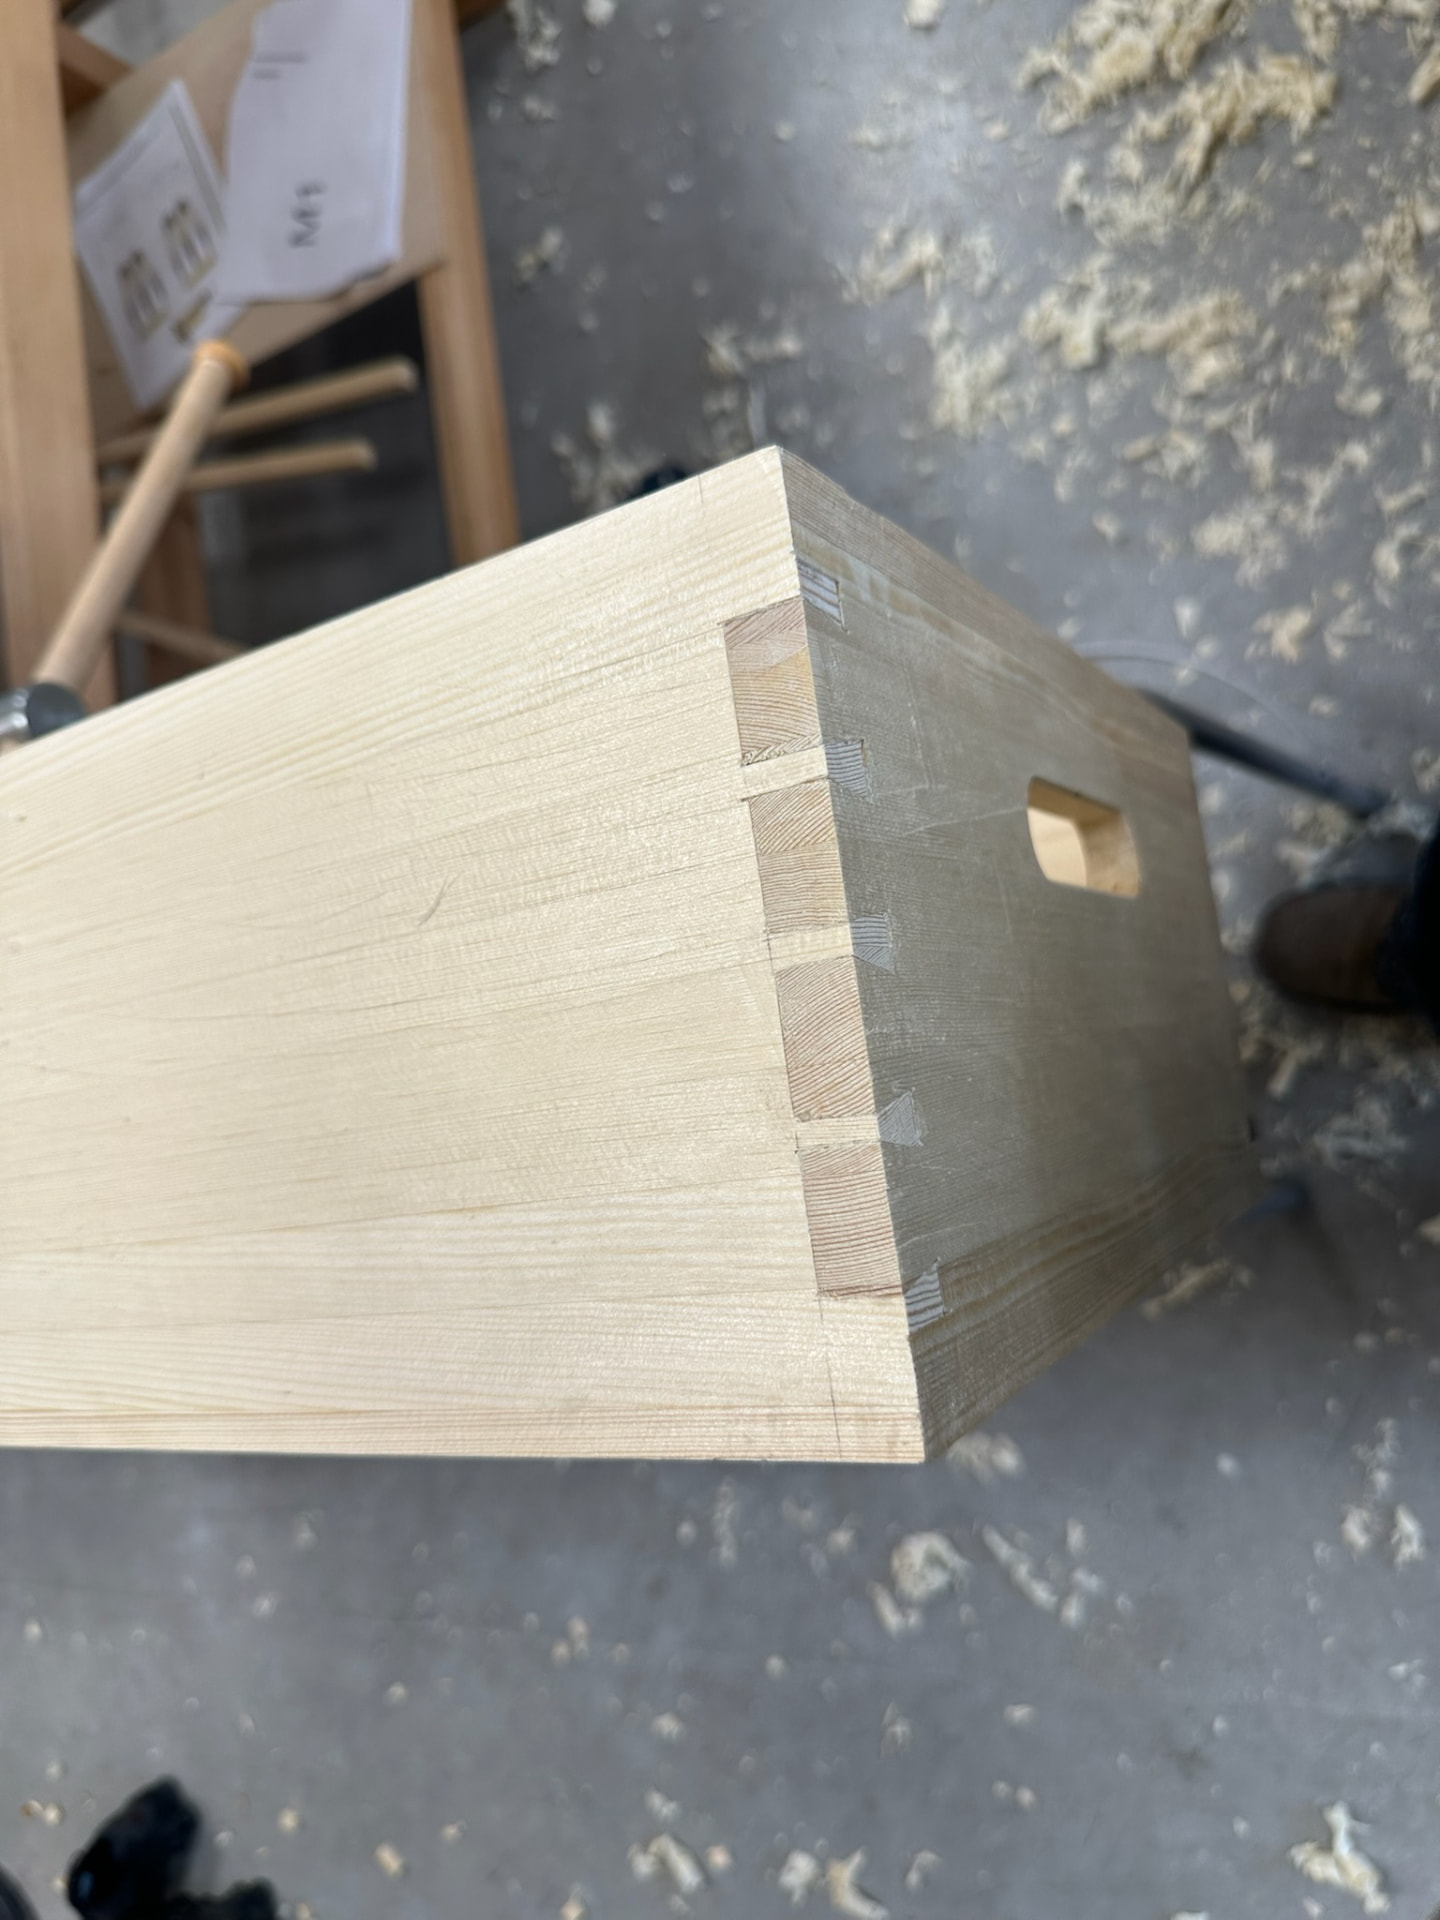
Close-up of a hand-cut dovetailed corner on a pine box with a routed handle.
Dovetailed corner, cleaned up
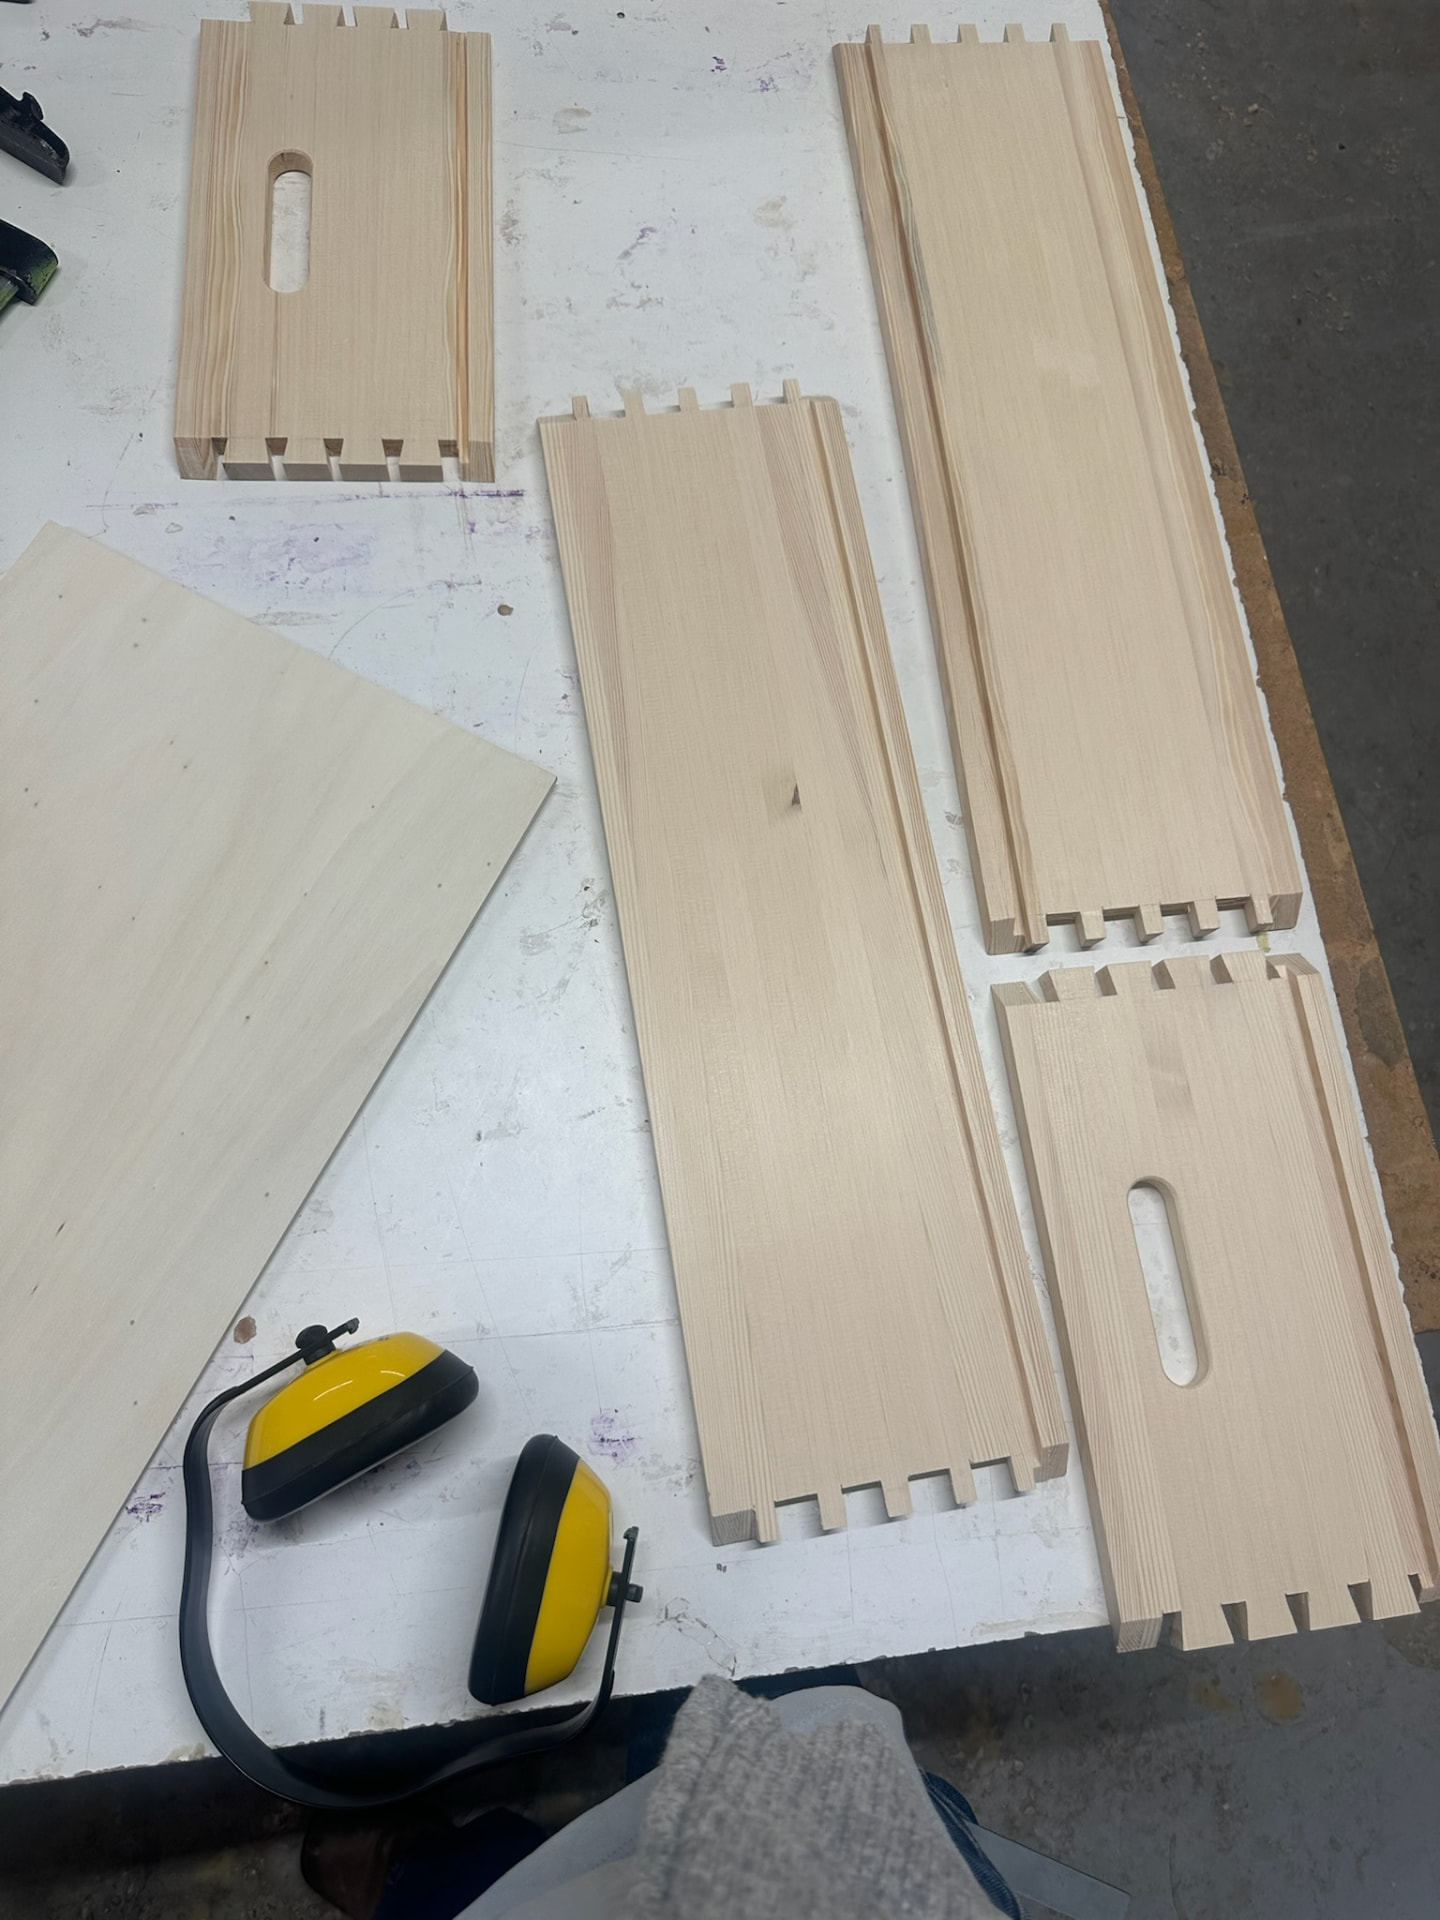
Pine box components laid out on the bench with dovetails cut and handles routed.
Box parts, dovetails cut
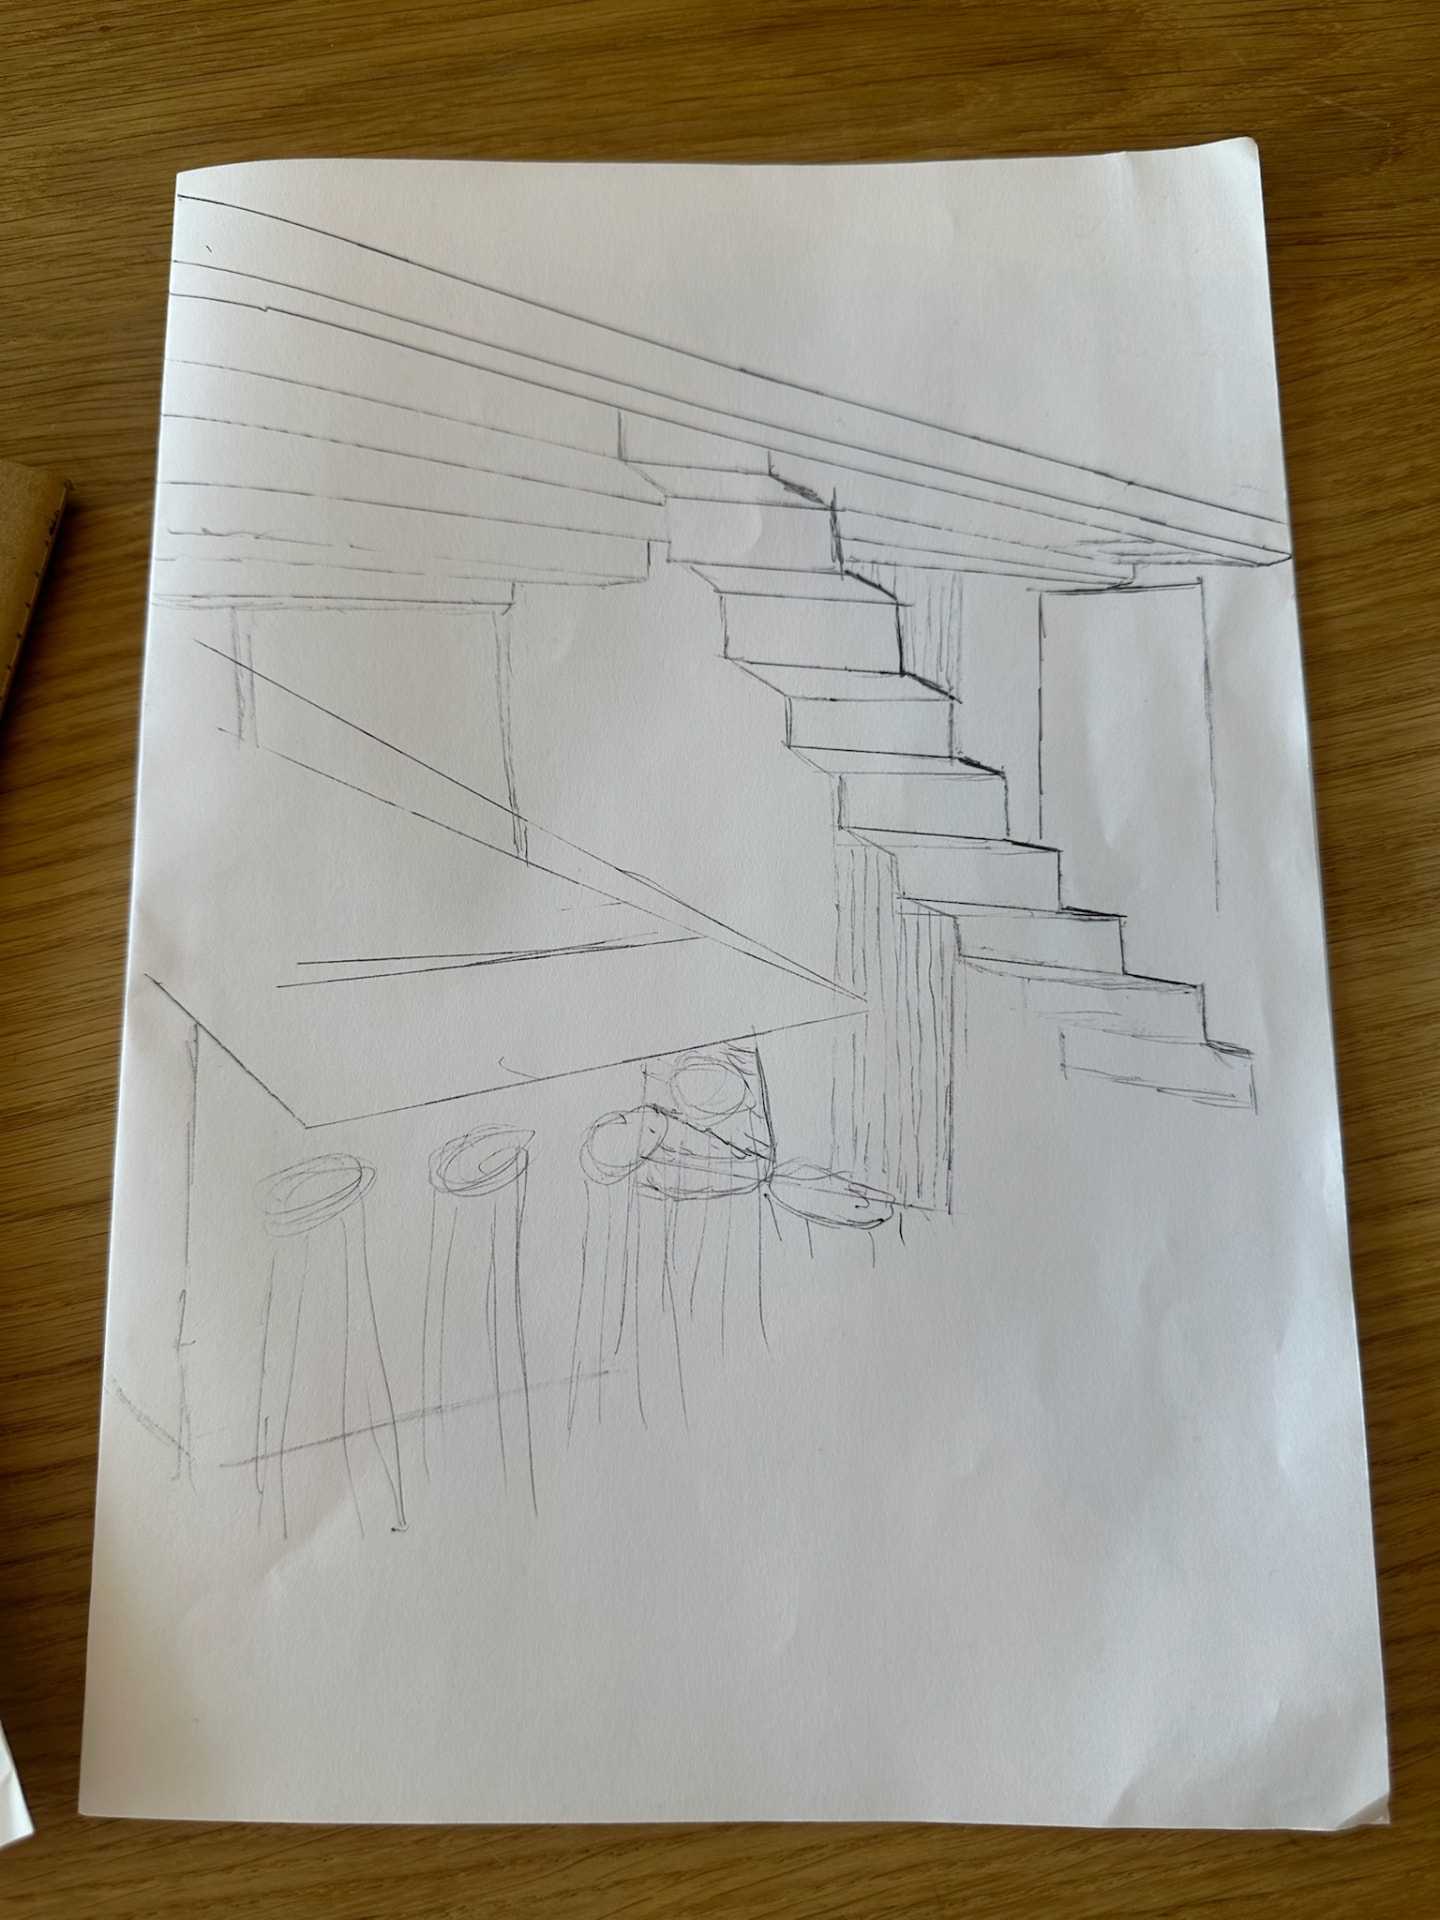
Pencil perspective sketch of a staircase, counter and bar stools.
Perspective sketch — stair and counter
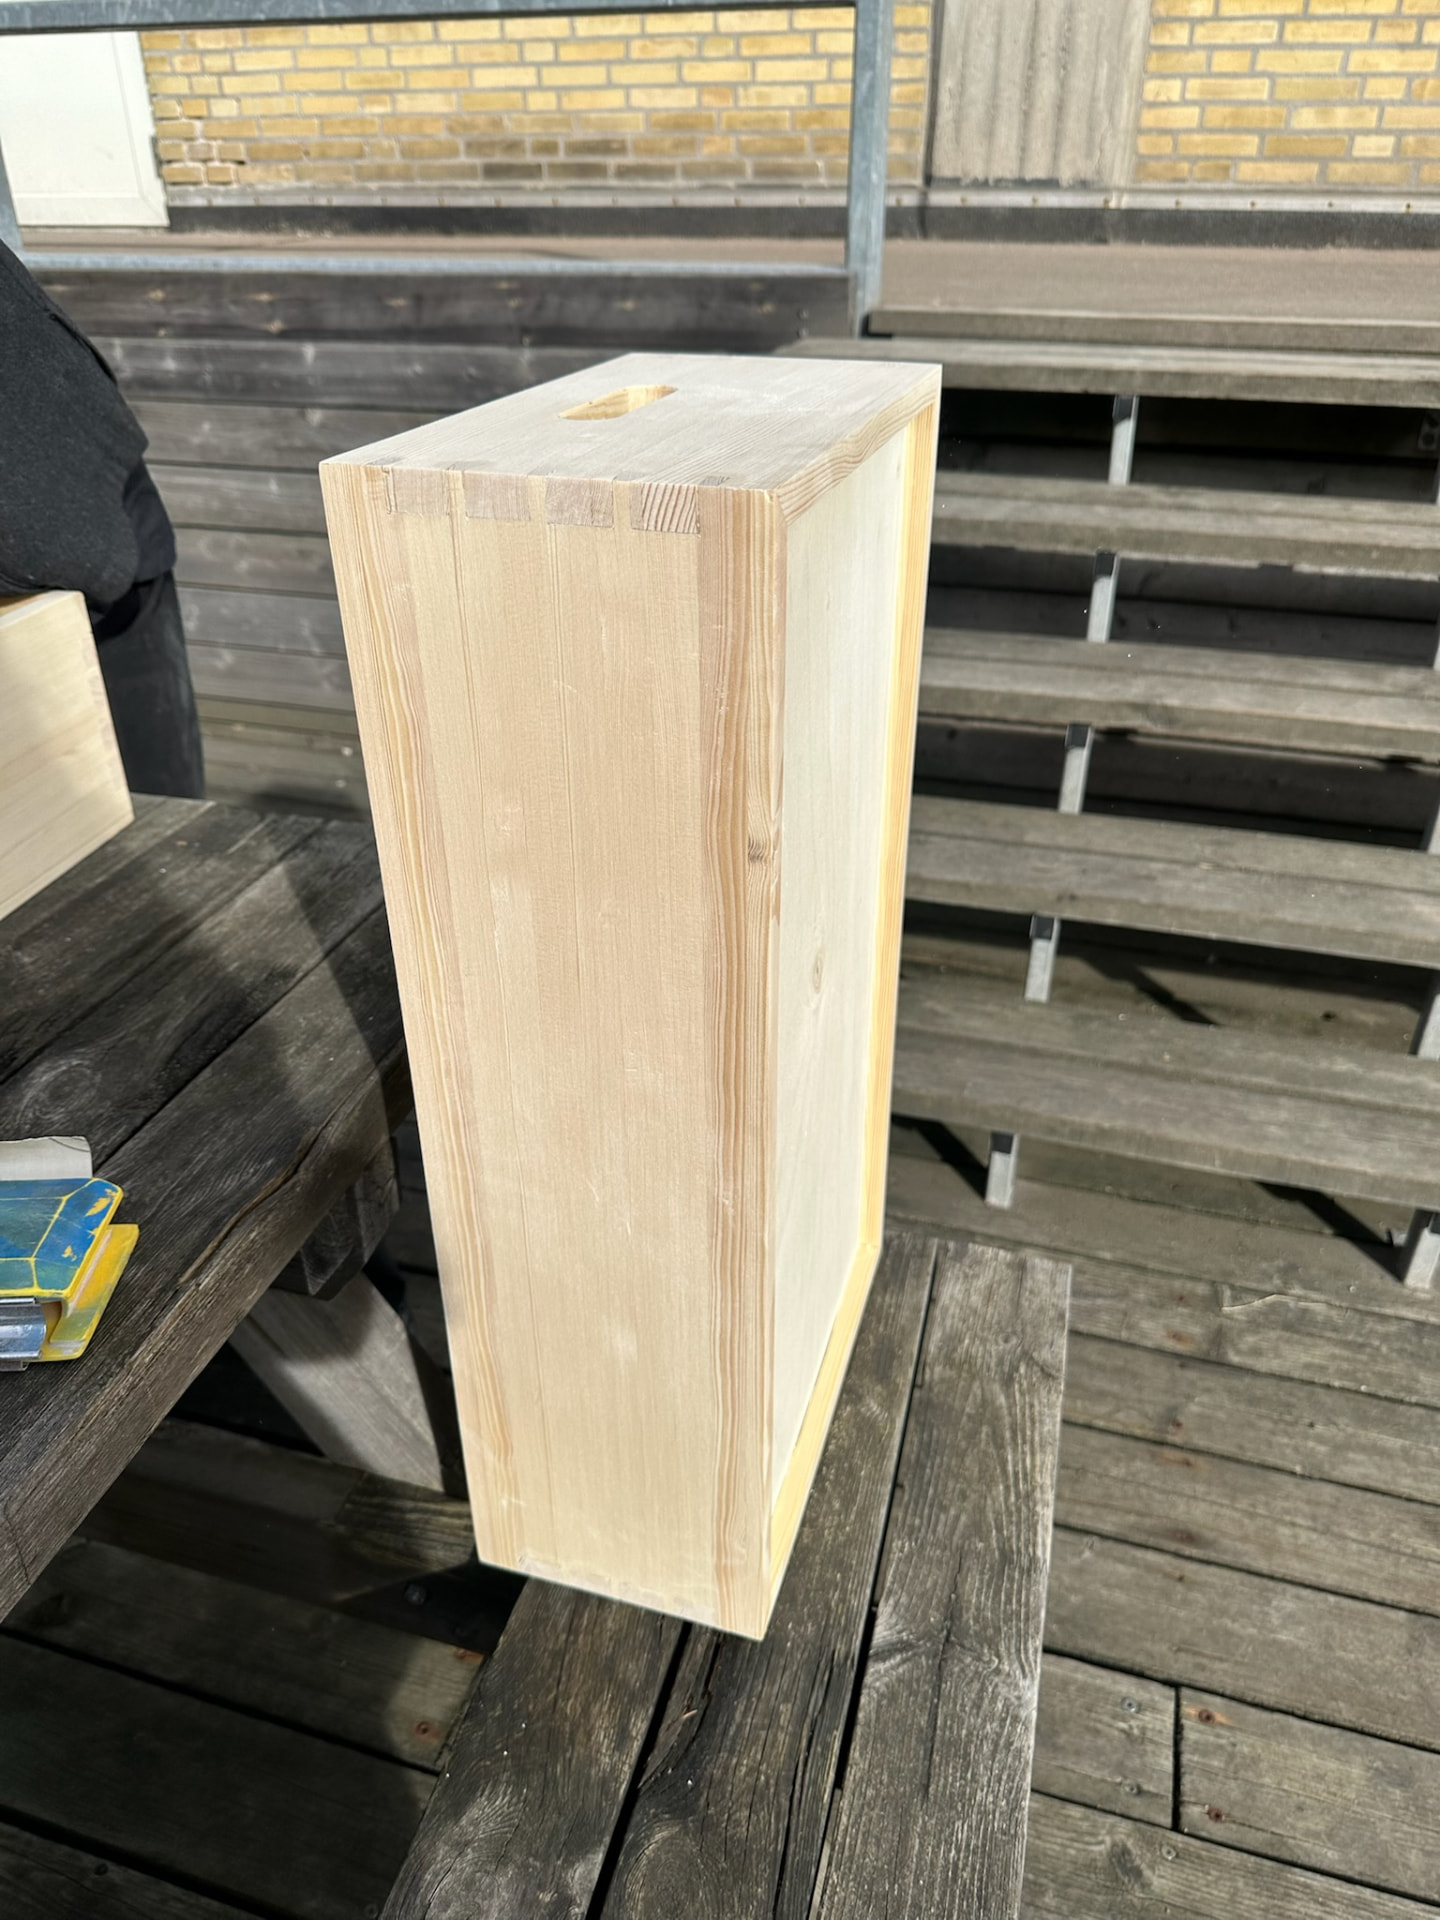
Finished pine box with dovetailed corners and a routed handle, standing on a bench outside.
Finished box, standing on end
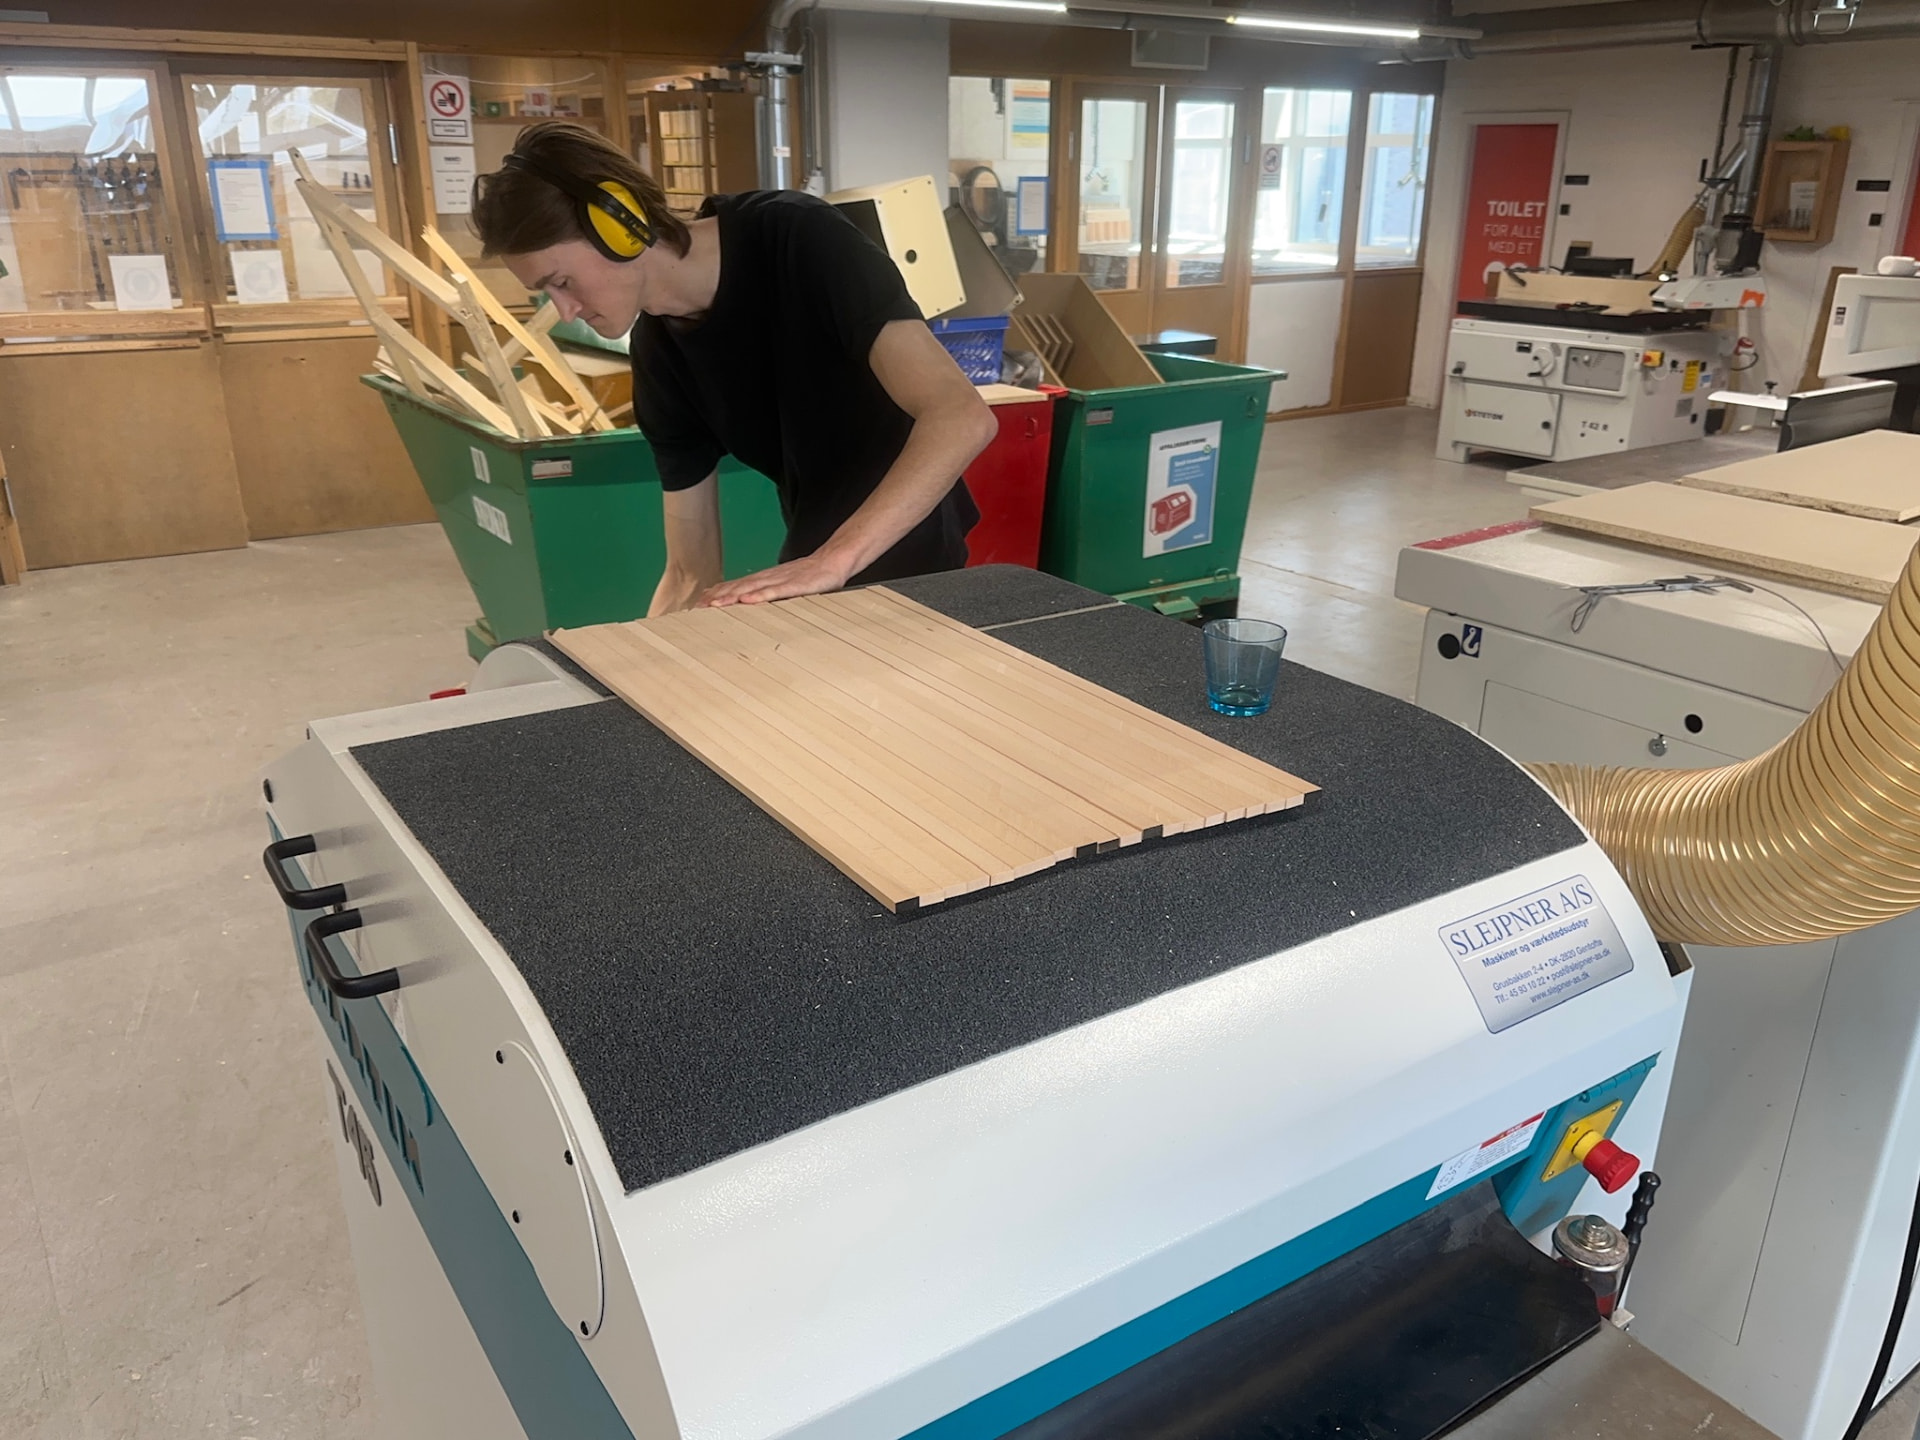
Student in ear defenders feeding thin wooden strips through a wide-belt sander in the workshop.
Feeding parts through the wide-belt sander